> ## Documentation Index
> Fetch the complete documentation index at: https://docs.symplr.io/llms.txt
> Use this file to discover all available pages before exploring further.
# Manage Projects
Projects in Symplr are managed from the Projects Dashboard, where you can create, search, organize, open, and delete application projects.
## Before You Begin
Before managing projects in Symplr, ensure you have access to the workspace and the required permissions.
## Access the Projects Dashboard
After signing in to Symplr, the Projects Dashboard displays all available application projects within your workspace.
Projects are displayed as cards containing project details, recent updates, and available management actions.
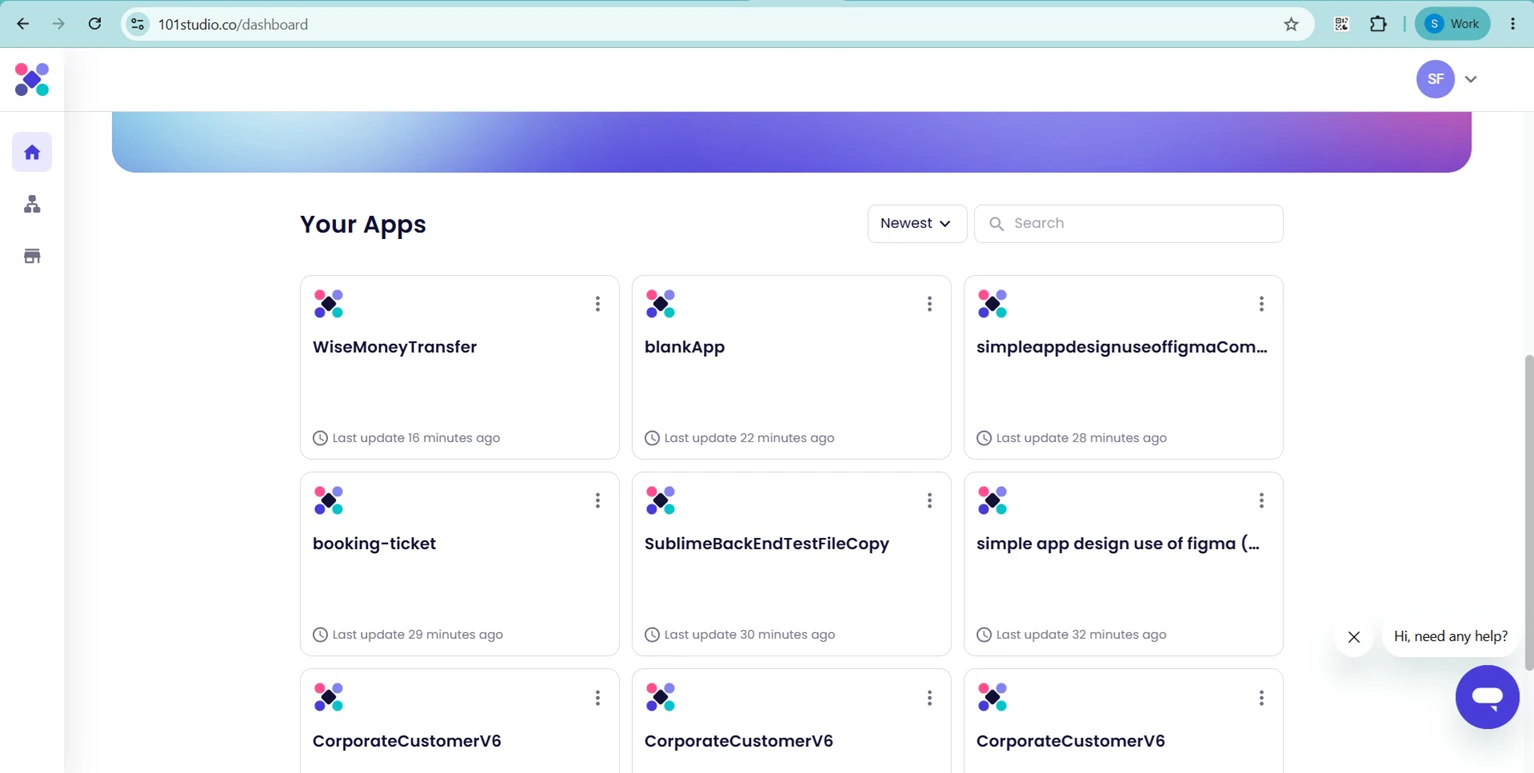 The Projects Dashboard provides access to project creation, organization, search, and management functions.
## Create a New Project
Symplr supports multiple workflows for creating projects using different application sources.
### Create a Project from Figma
To generate a project using an existing Figma design, select the **Import from Figma** option from the project creation section.
The Projects Dashboard provides access to project creation, organization, search, and management functions.
## Create a New Project
Symplr supports multiple workflows for creating projects using different application sources.
### Create a Project from Figma
To generate a project using an existing Figma design, select the **Import from Figma** option from the project creation section.
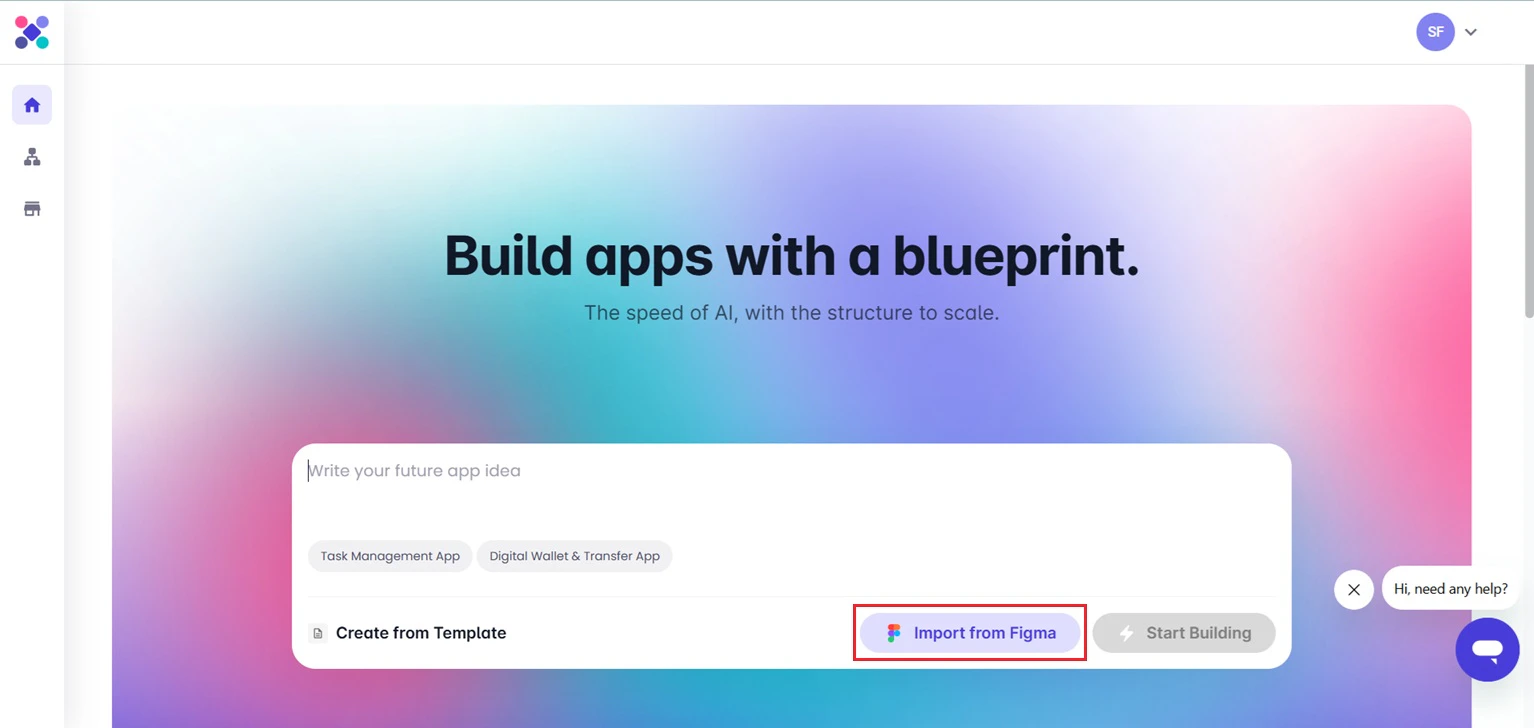 Symplr generates application structures and screens from the imported Figma design.
### Create a Project from a Template
To begin using a predefined application structure, select the **Create from Template** option.
Symplr generates application structures and screens from the imported Figma design.
### Create a Project from a Template
To begin using a predefined application structure, select the **Create from Template** option.
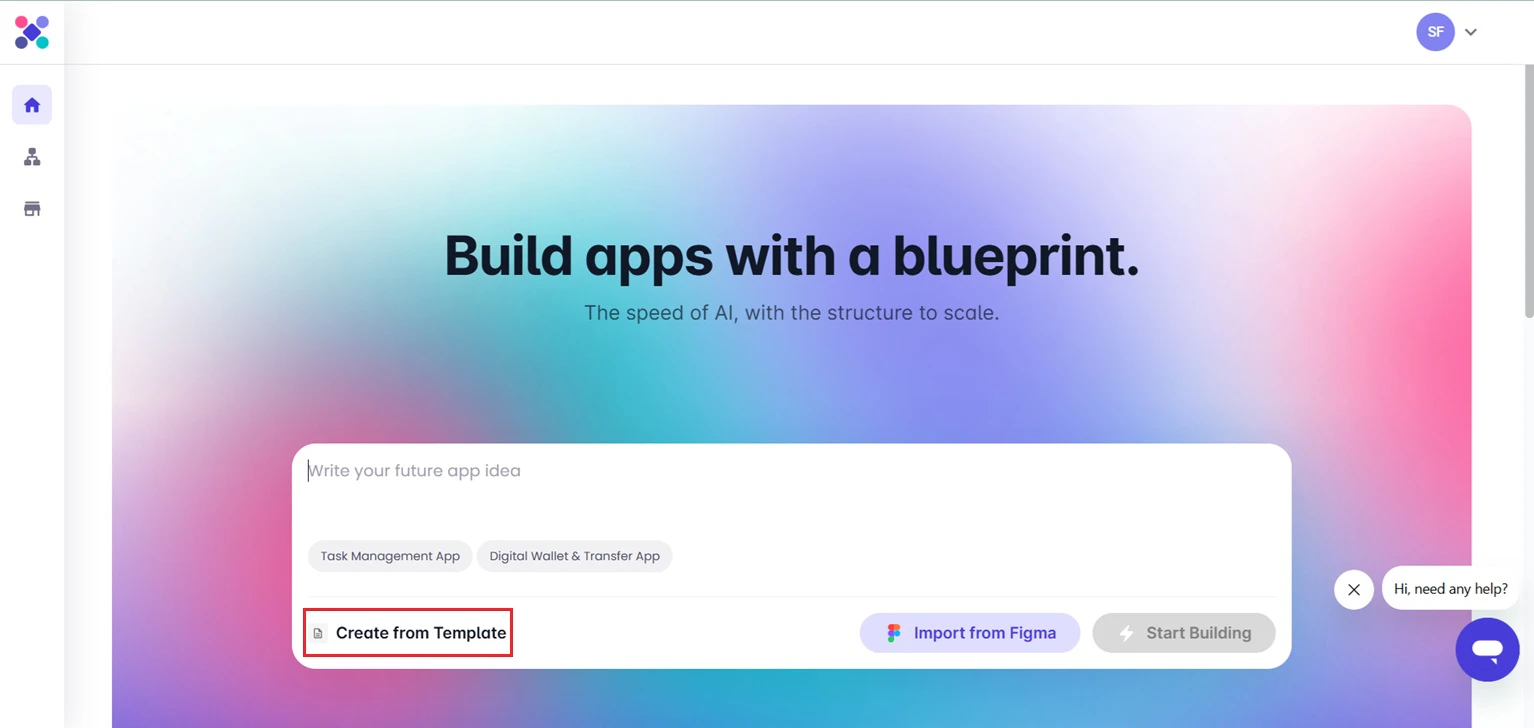 Templates provide predefined application structures that can be customized and extended after project creation.
### Create a Project from an AI Prompt
To generate a project using an application description or prompt, enter the application description and click **Start Building**.
Templates provide predefined application structures that can be customized and extended after project creation.
### Create a Project from an AI Prompt
To generate a project using an application description or prompt, enter the application description and click **Start Building**.
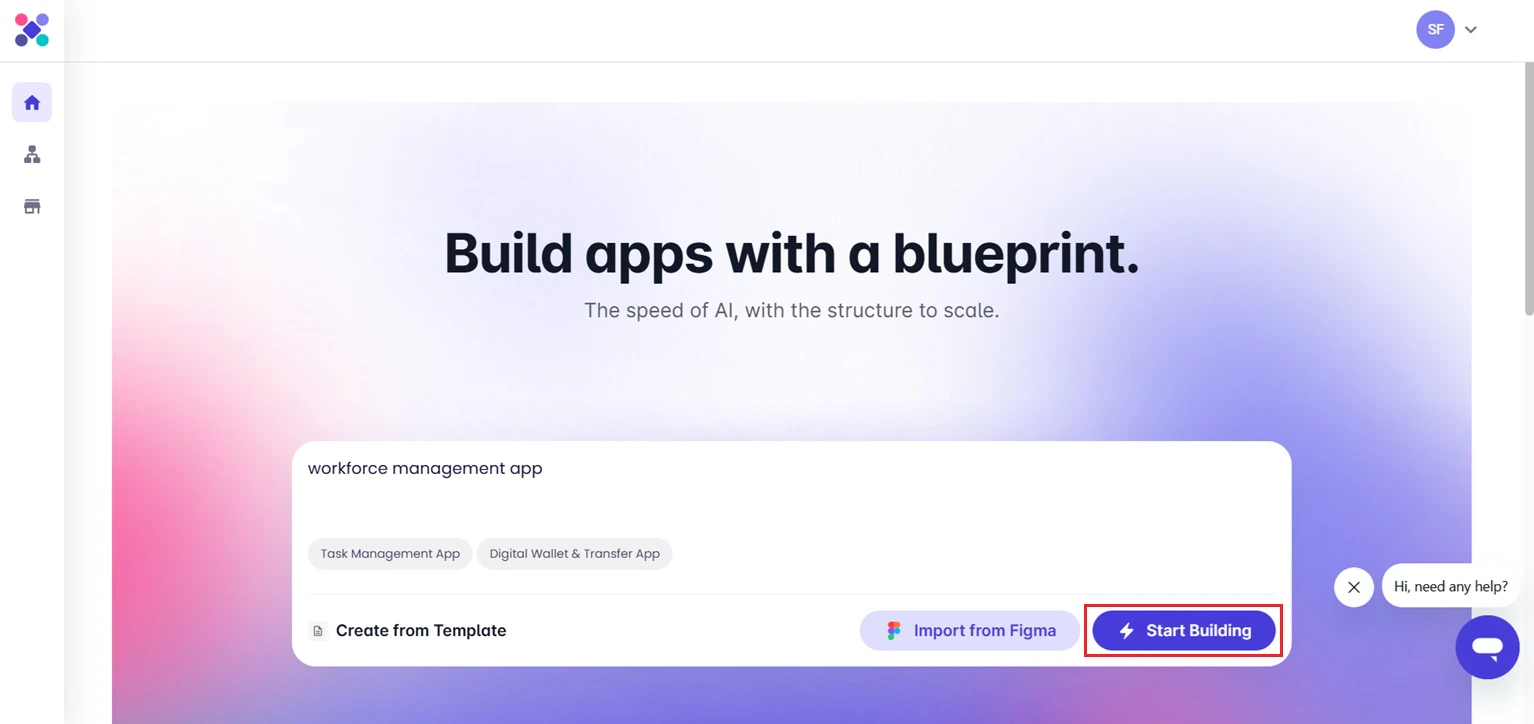 Symplr generates the initial application structure based on the provided prompt.
## Search Projects
To quickly locate a specific project, use the search field available above the project list.
Symplr generates the initial application structure based on the provided prompt.
## Search Projects
To quickly locate a specific project, use the search field available above the project list.
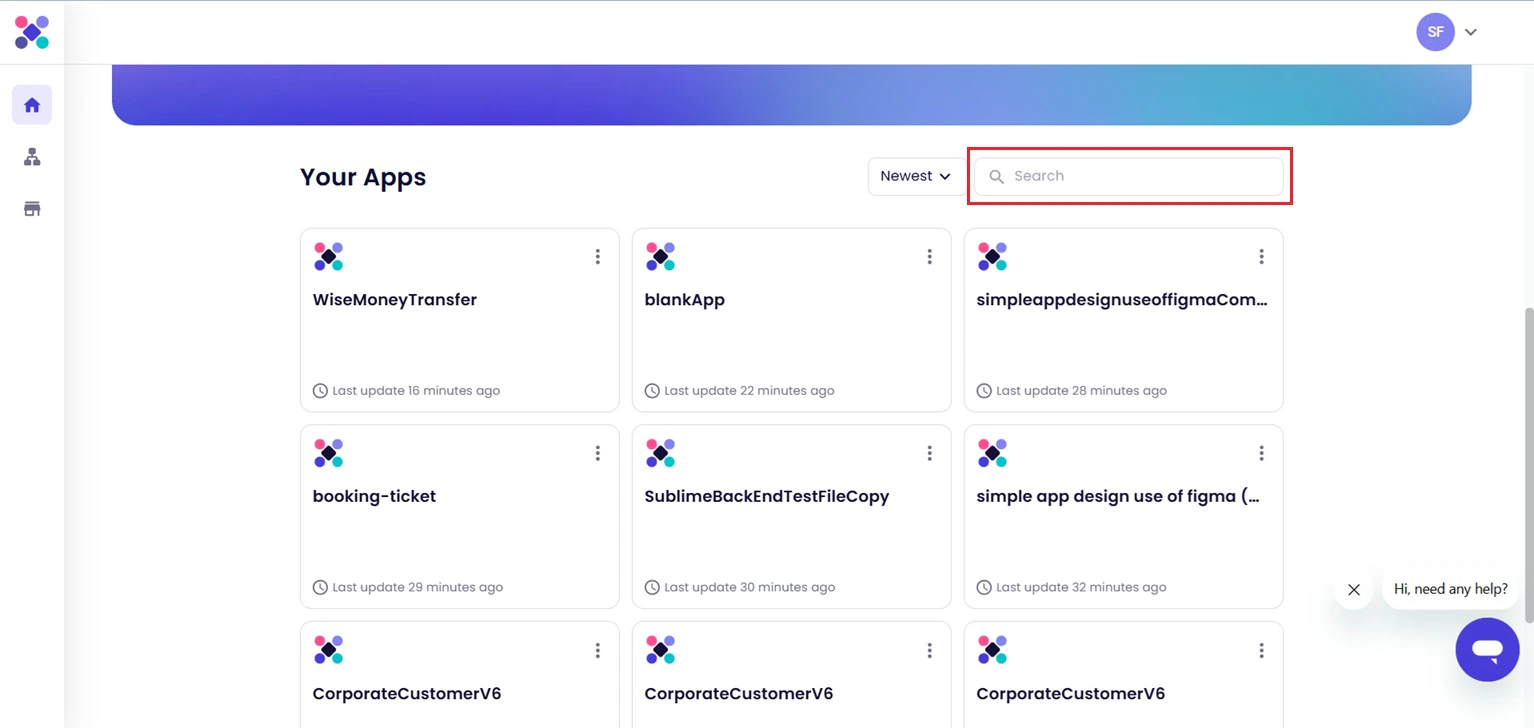 Projects are filtered based on matching project names.
## Sort Projects
Projects can be organized using the sorting options available within the dashboard.
Projects are filtered based on matching project names.
## Sort Projects
Projects can be organized using the sorting options available within the dashboard.
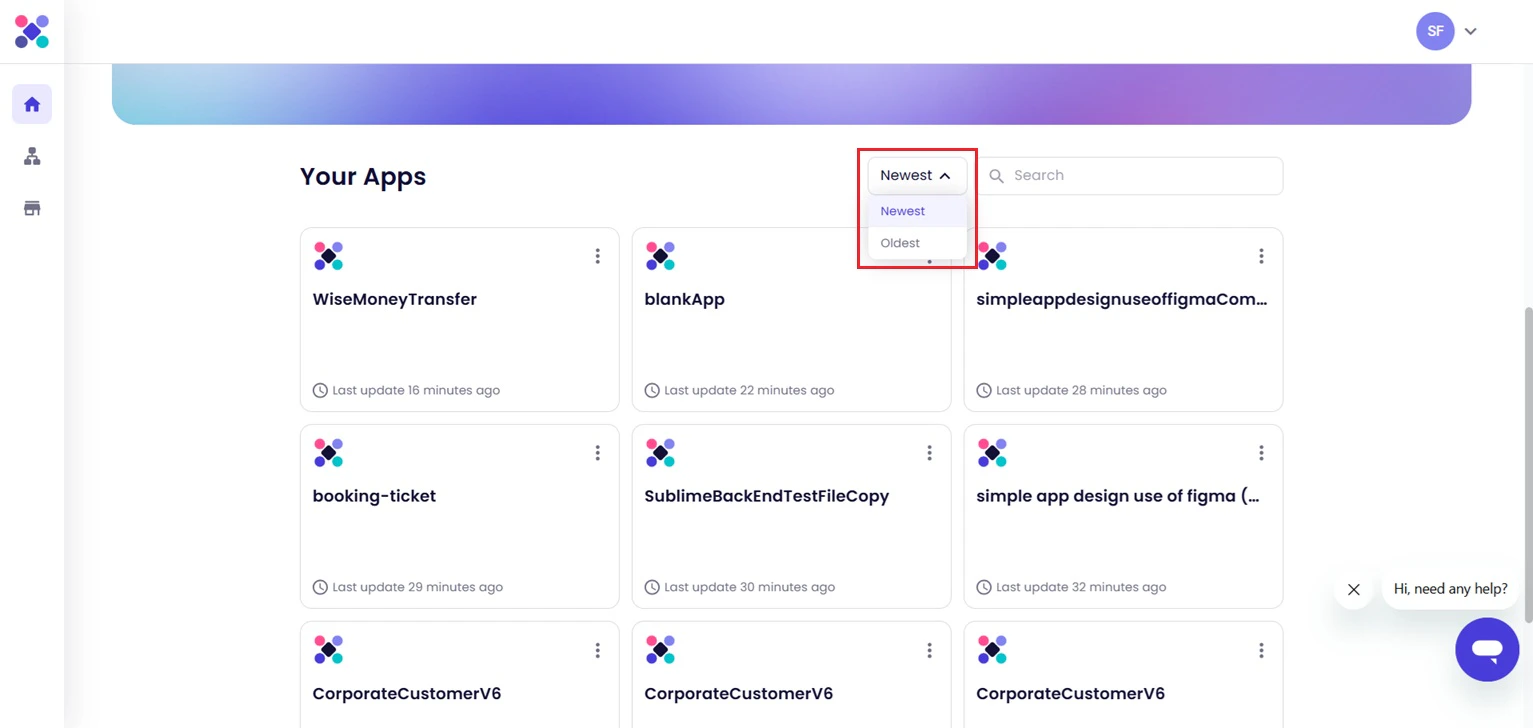 Projects can be sorted by:
* Newest
* Oldest
## Open an Existing Project
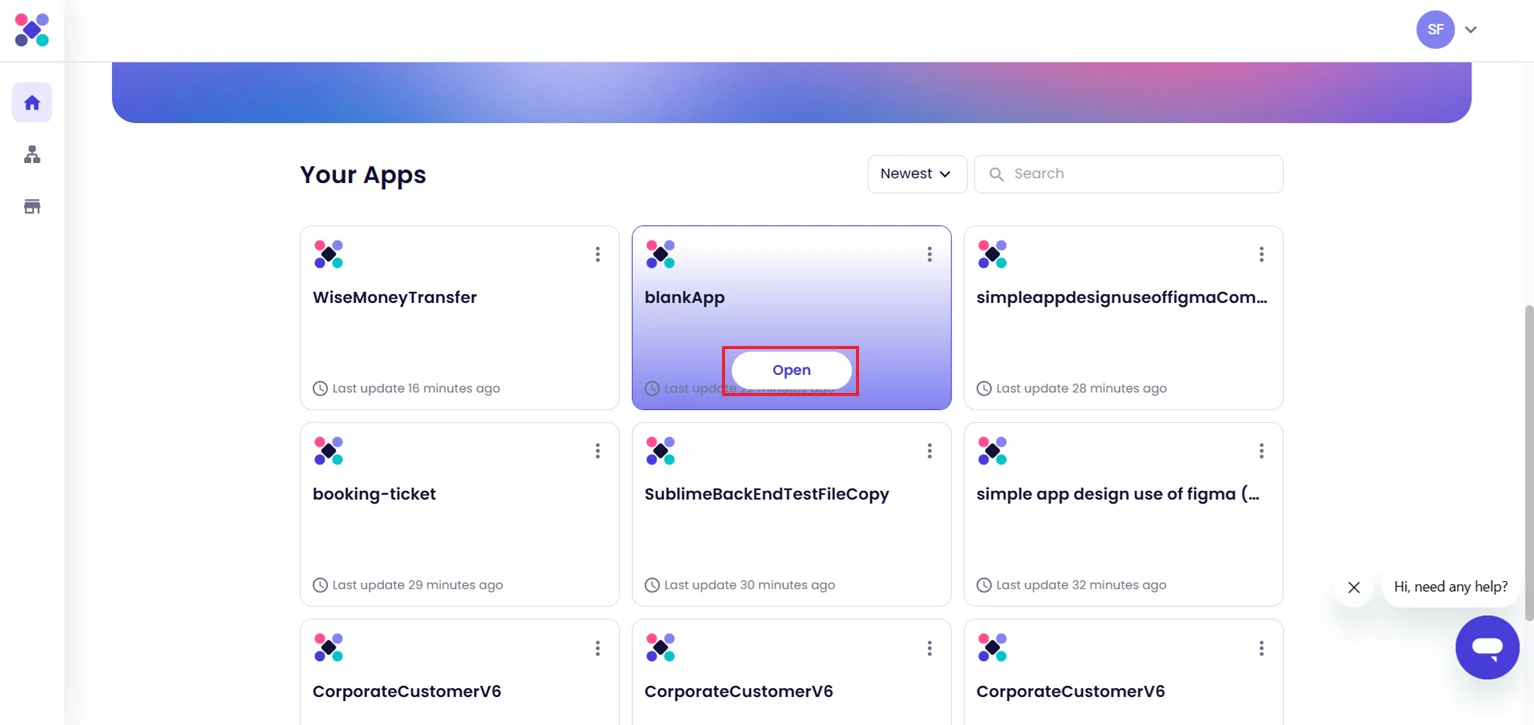
To continue working on an existing application, select the required project card from the Projects Dashboard.
Opening a project loads the application in **Blueprint View**, where screens, workflows, and application configurations can continue to be edited.
Projects can be sorted by:
* Newest
* Oldest
## Open an Existing Project
To continue working on an existing application, select the required project card from the Projects Dashboard.
Opening a project loads the application in **Blueprint View**, where screens, workflows, and application configurations can continue to be edited.
 ## Delete a Project
Project management options are available from the three-dot menu displayed on each project card.
## Delete a Project
Project management options are available from the three-dot menu displayed on each project card.
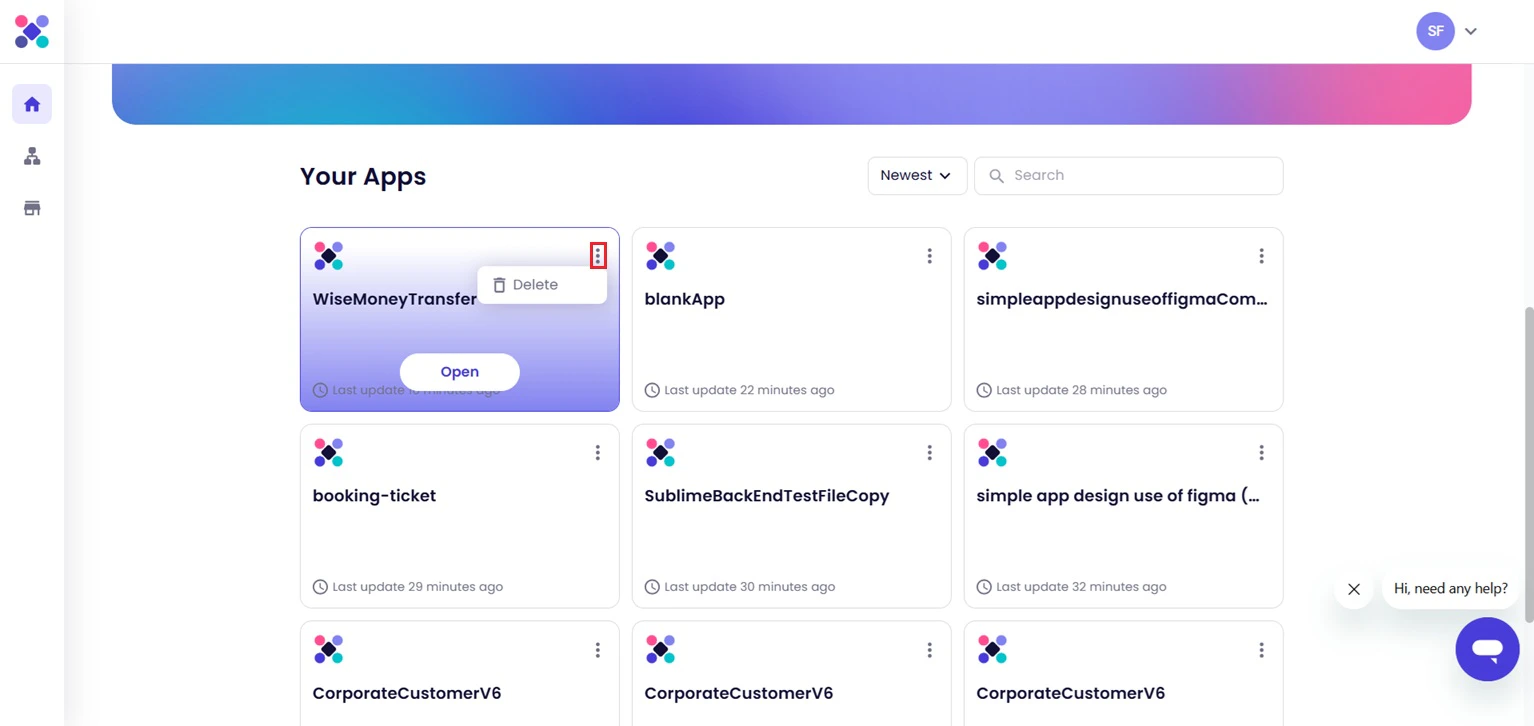 To permanently remove a project, select the **Delete** option from the project menu.
Symplr then displays a confirmation dialog before removing the selected project.
To permanently remove a project, select the **Delete** option from the project menu.
Symplr then displays a confirmation dialog before removing the selected project.
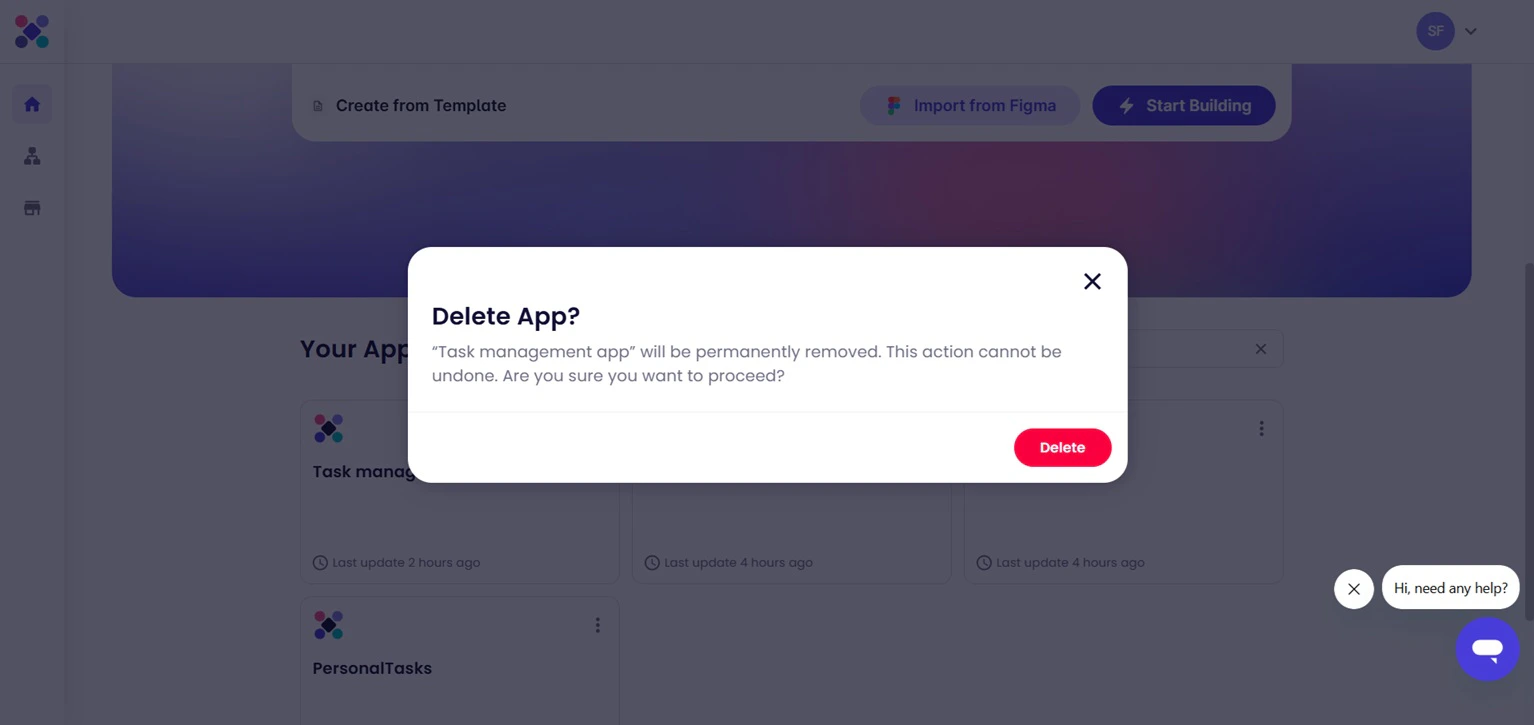 Project deletion is permanent and cannot be reversed after confirmation.
## Next Steps
After opening or creating a project, continue by configuring screens, workflows, authentication, data models, and application settings.
Project deletion is permanent and cannot be reversed after confirmation.
## Next Steps
After opening or creating a project, continue by configuring screens, workflows, authentication, data models, and application settings.