
Why It Matters
- Transform designs into working applications efficiently
- Validate application flows early in the development process
- Maintain design accuracy and consistency across screens
- Test functionality and user flows within the platform or on a real device
- Support a smoother transition from design to deployment
Overview
By importing a Figma file URL, Symplr generates screens, layouts, components, and navigation from your design, allowing you to move from design to Blueprint View without manually rebuilding screens. Watch the short video below to see how Symplr transforms a Figma design into a working application.What You Can Do with Symplr
- Import Figma designs using a shareable URL
- Generate screens and navigation from your design
- Preview, build, and run applications within the platform
Quick Start
Convert your Figma design into a structured application workflow in a few steps. In under 2 minutes, you can:- Copy your Figma file URL
- Import it into Symplr
- Review generated screens
- Build and run the application
Expected Outcome
In just a few steps, Symplr converts your Figma design into a working application ready for testing and validation. After completing this flow, you will have:- A generated application structure created directly from your Figma design
- Screens and navigation generated with precision
- A working application ready for preview within Symplr or on your device
What You’ll Need
Before you get started, make sure you have:- Access to a Figma design file with a valid shareable link
- A Symplr account with the necessary permissions
- A stable internet connection
Prepare Your Figma File
Symplr works best when your design is structured for clarity and scalability. A well-prepared file ensures faster, more accurate generation. For optimal results:- Use frames to define each screen
- Maintain clear and consistent screen names
- Avoid deeply nested groups that may affect interpretation
- Leverage reusable components for consistency
- Apply Auto Layout to support responsive behavior
Import Your Figma Design
Using a Figma URL, Symplr accesses your design and prepares the application structure for generation.Import Process
Step 1: Copy Your Figma File URL
Open your Figma design and copy the shareable file link used to import your design into Symplr.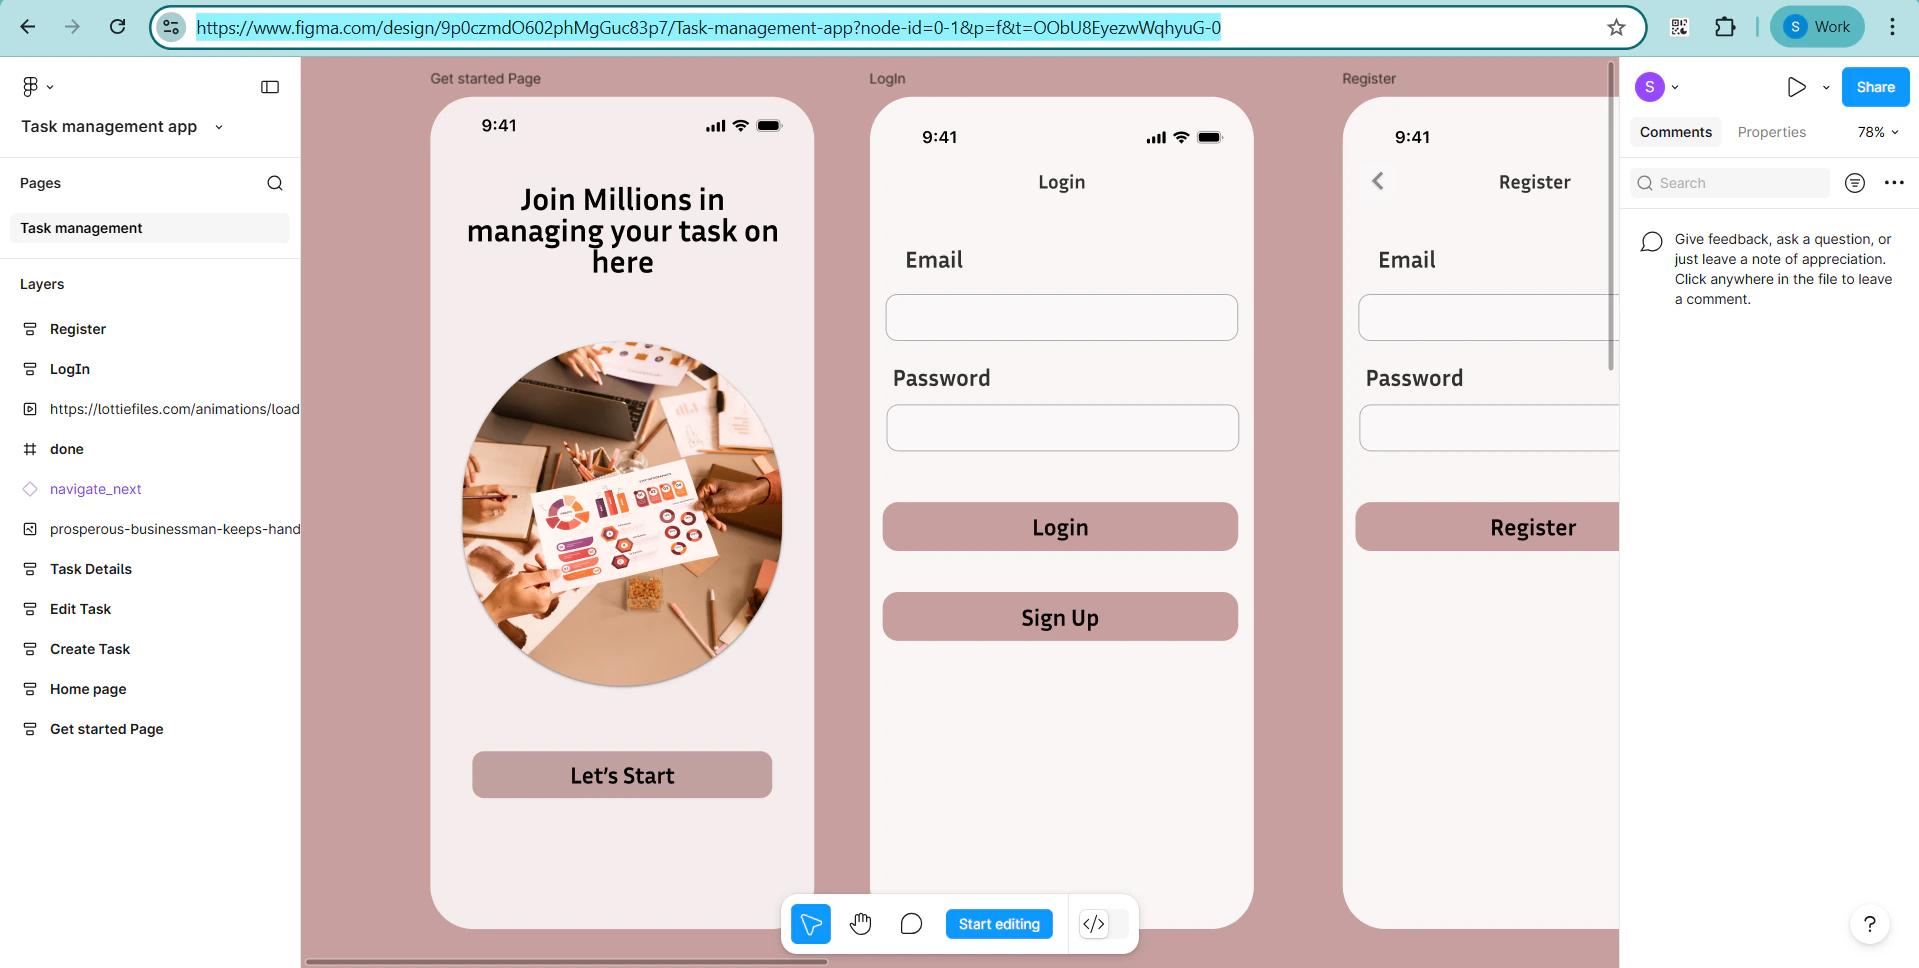
Step 2: Launch Symplr
Log in to your Symplr account and navigate to the Home page. Click “Import from Figma” to start the process.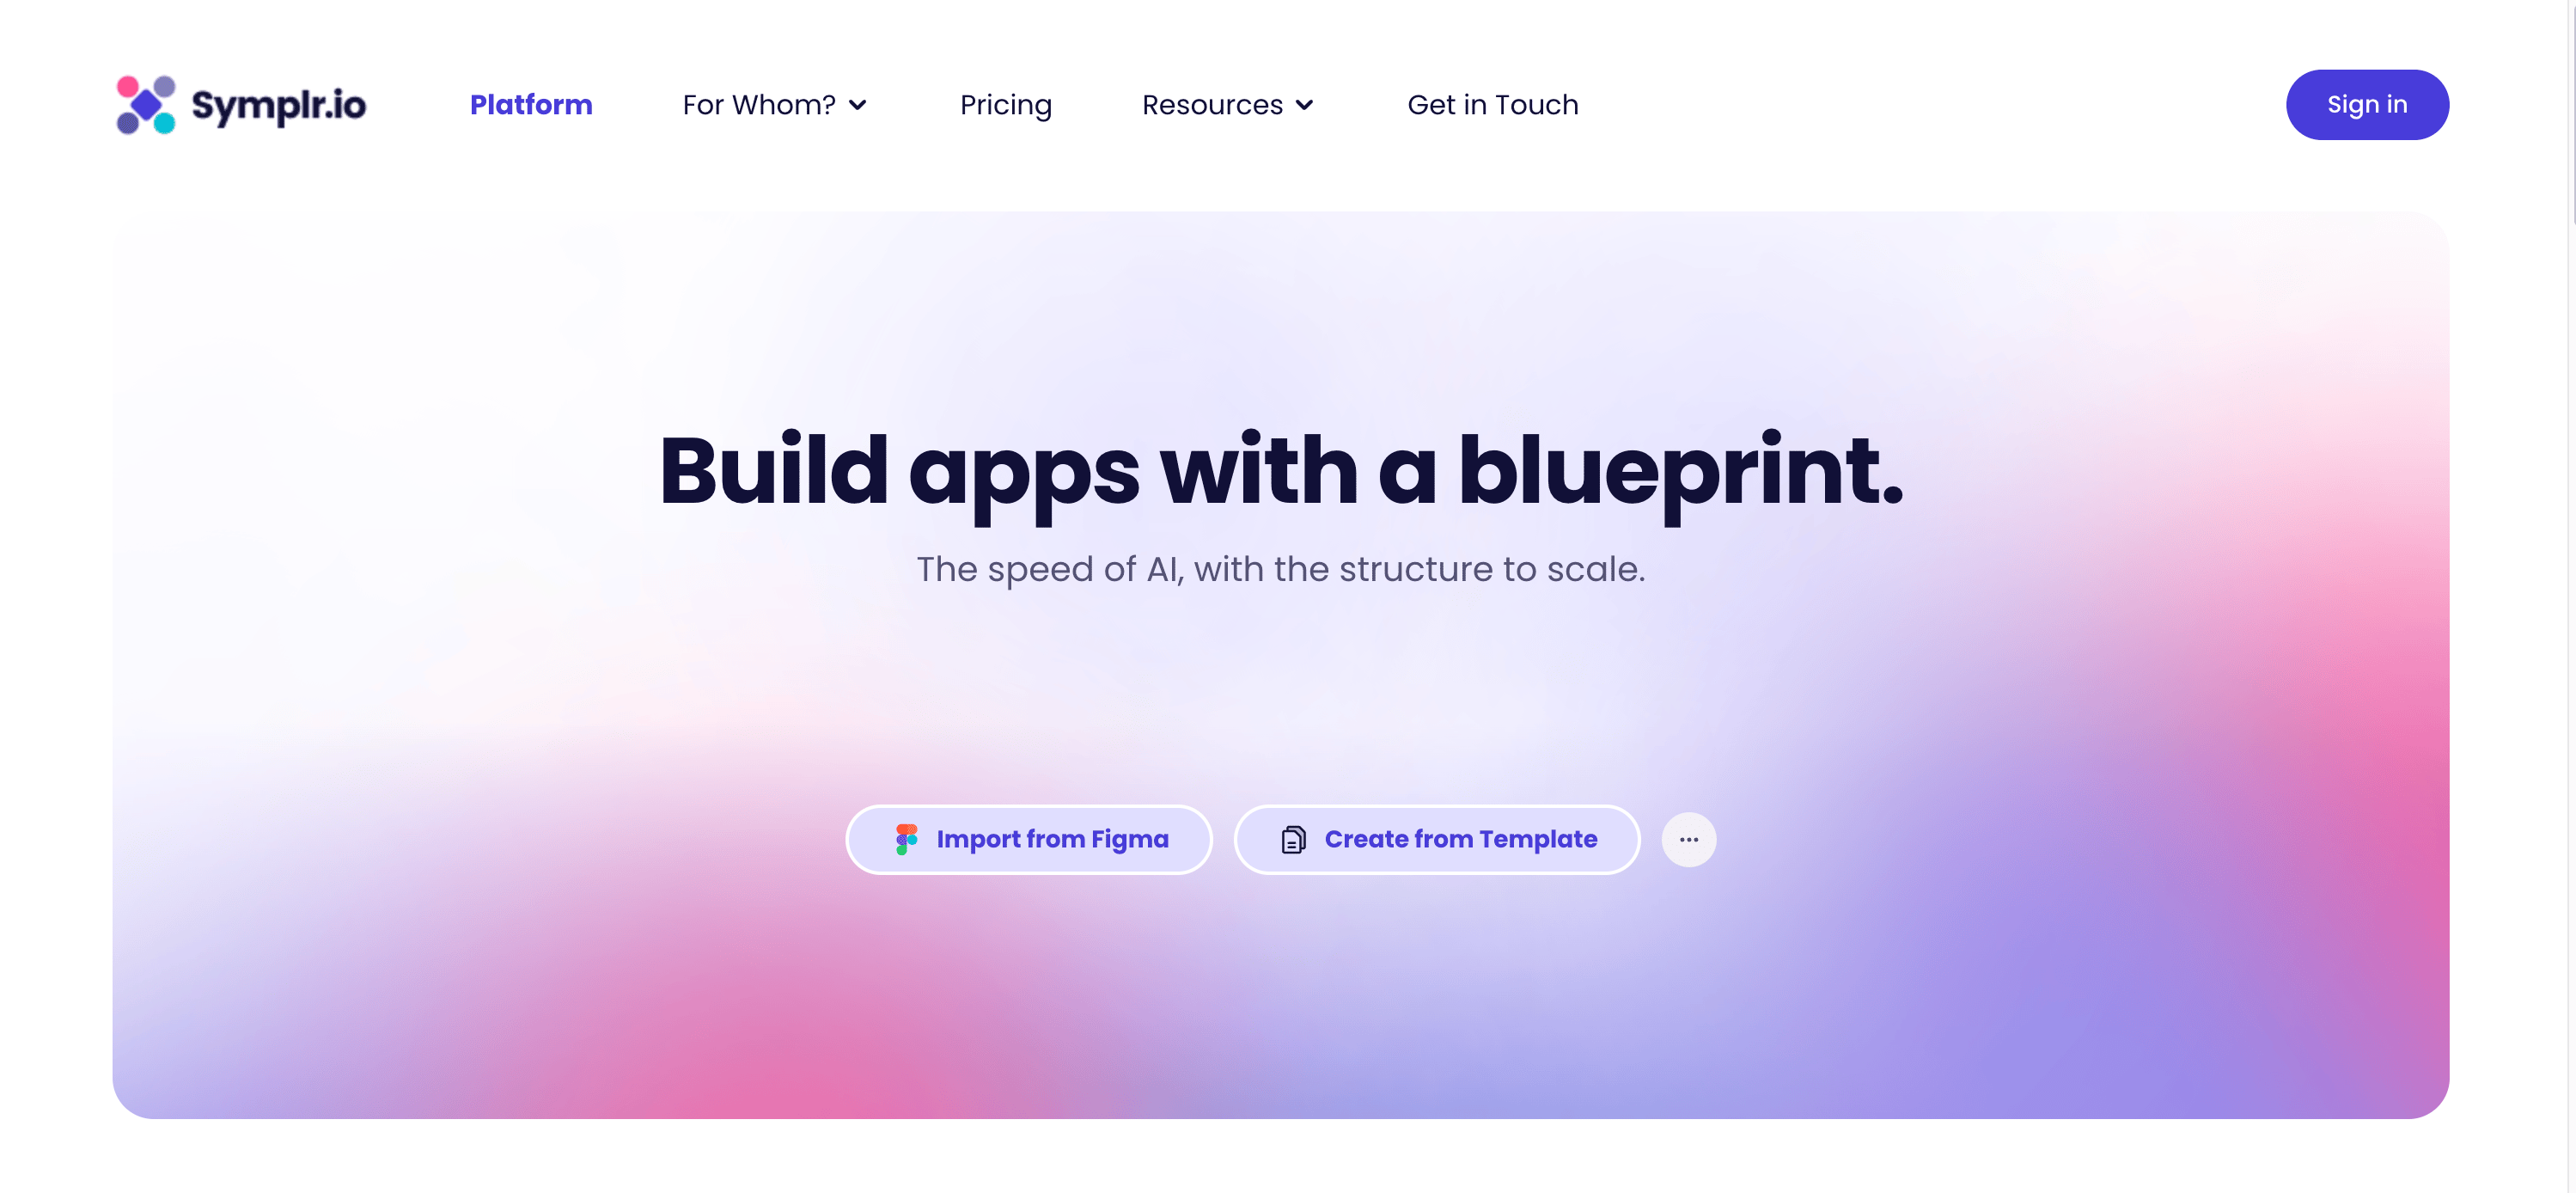
Step 3: Connect Your Design
Paste your Figma URL into the input field and click “Import”. Symplr will validate and securely access your design.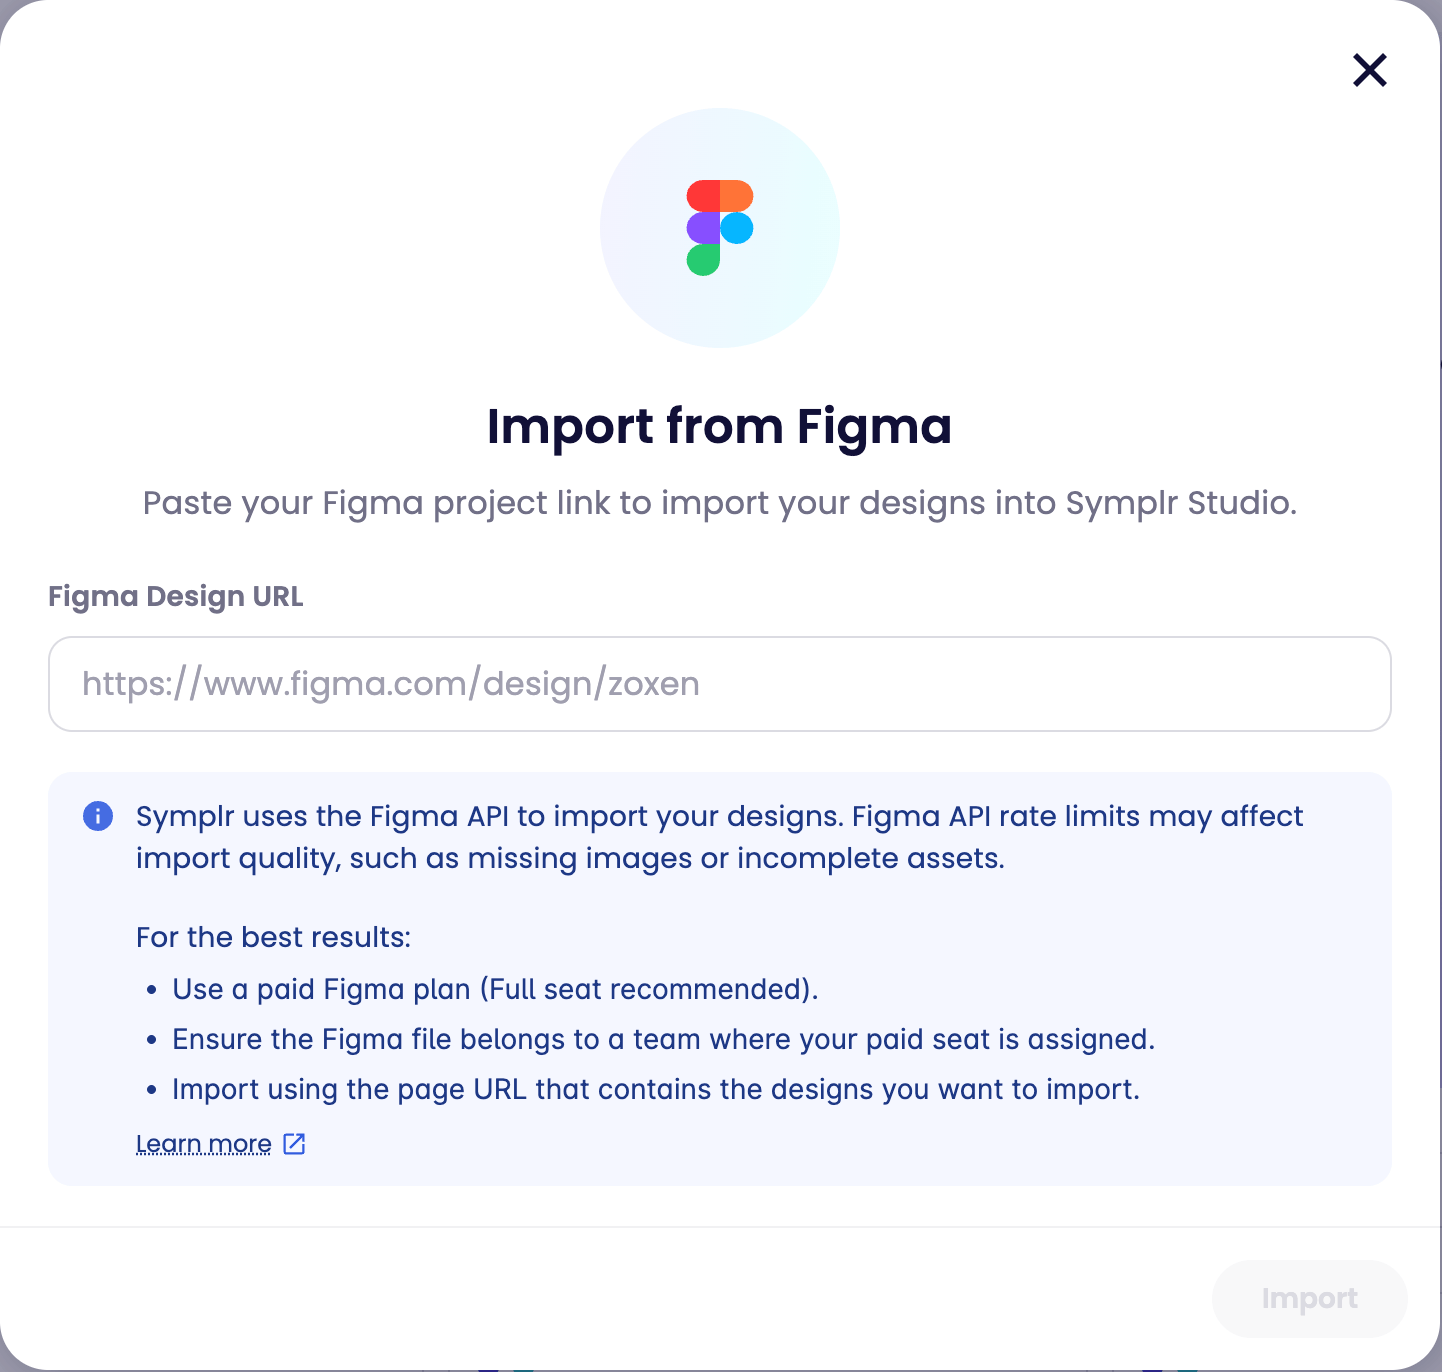
First time connecting? You’ll be prompted to authorize your Figma account. Follow the on-screen steps to enable access.
Step 4: Generate the Application Structure
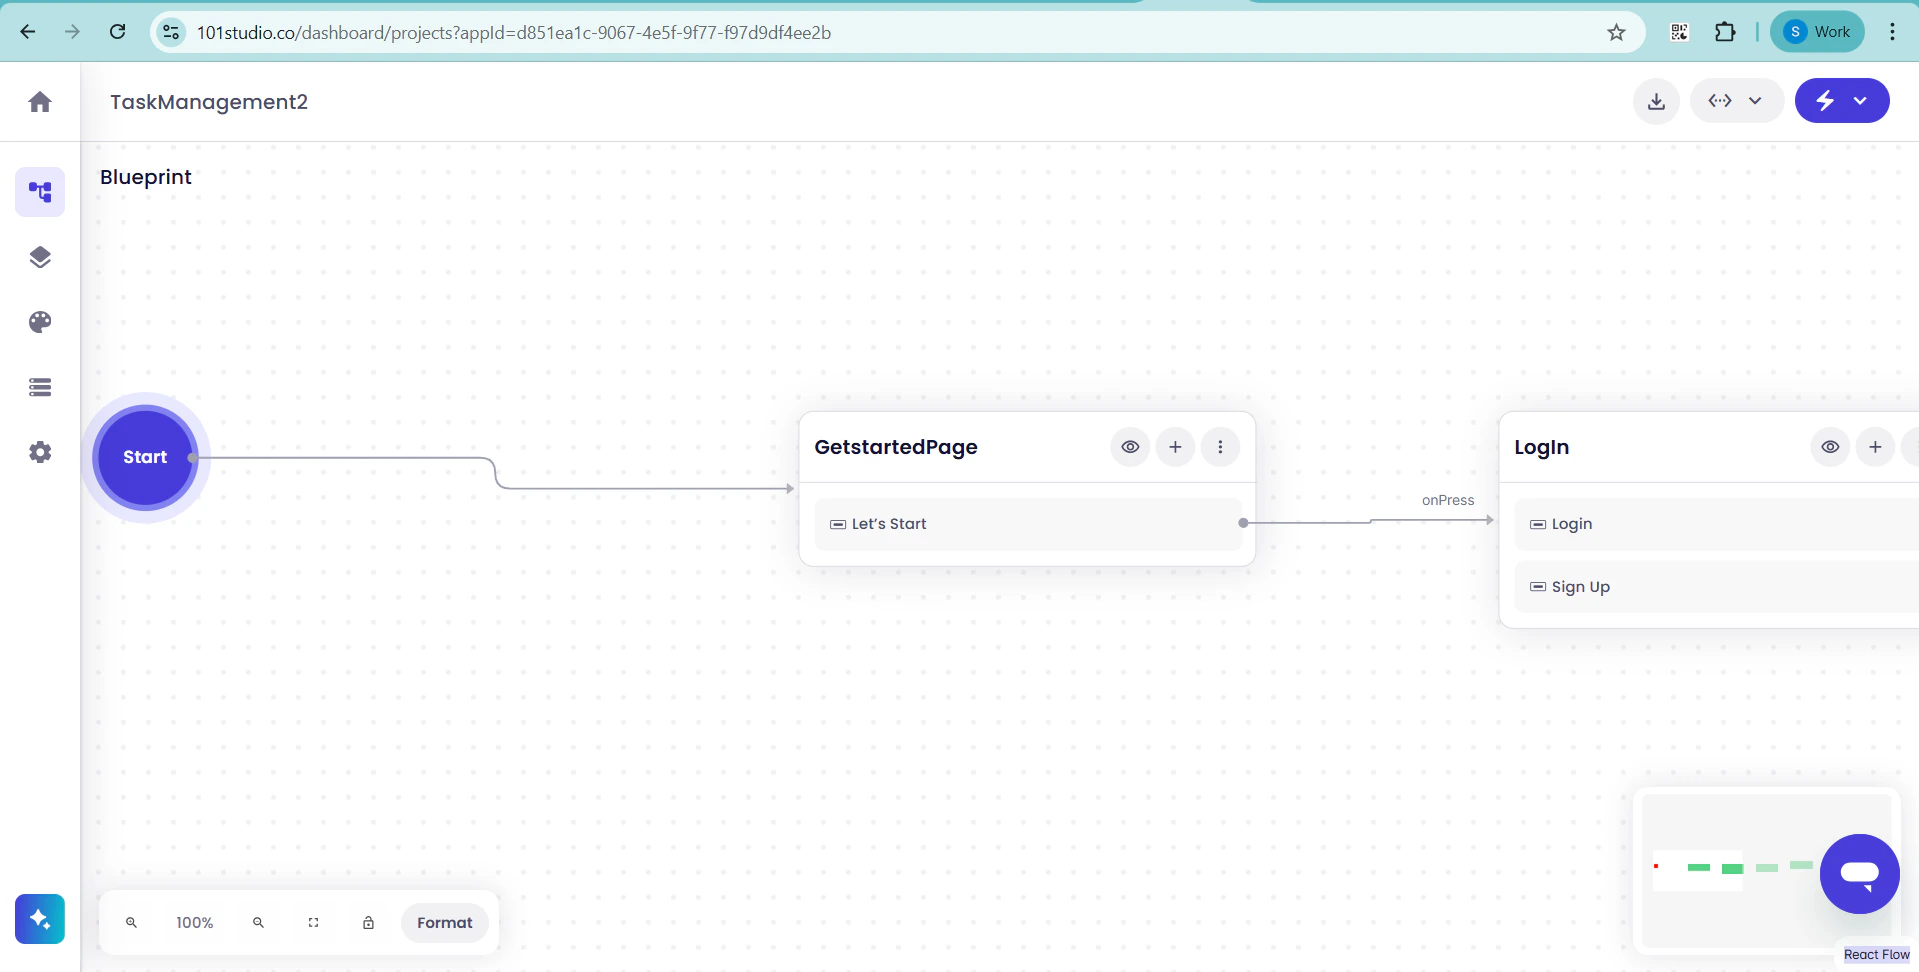
Symplr processes your design by analyzing layouts and components to generate the application structure. The result is a ready-to-use Blueprint View, a visual representation of your application’s screens and navigation for review.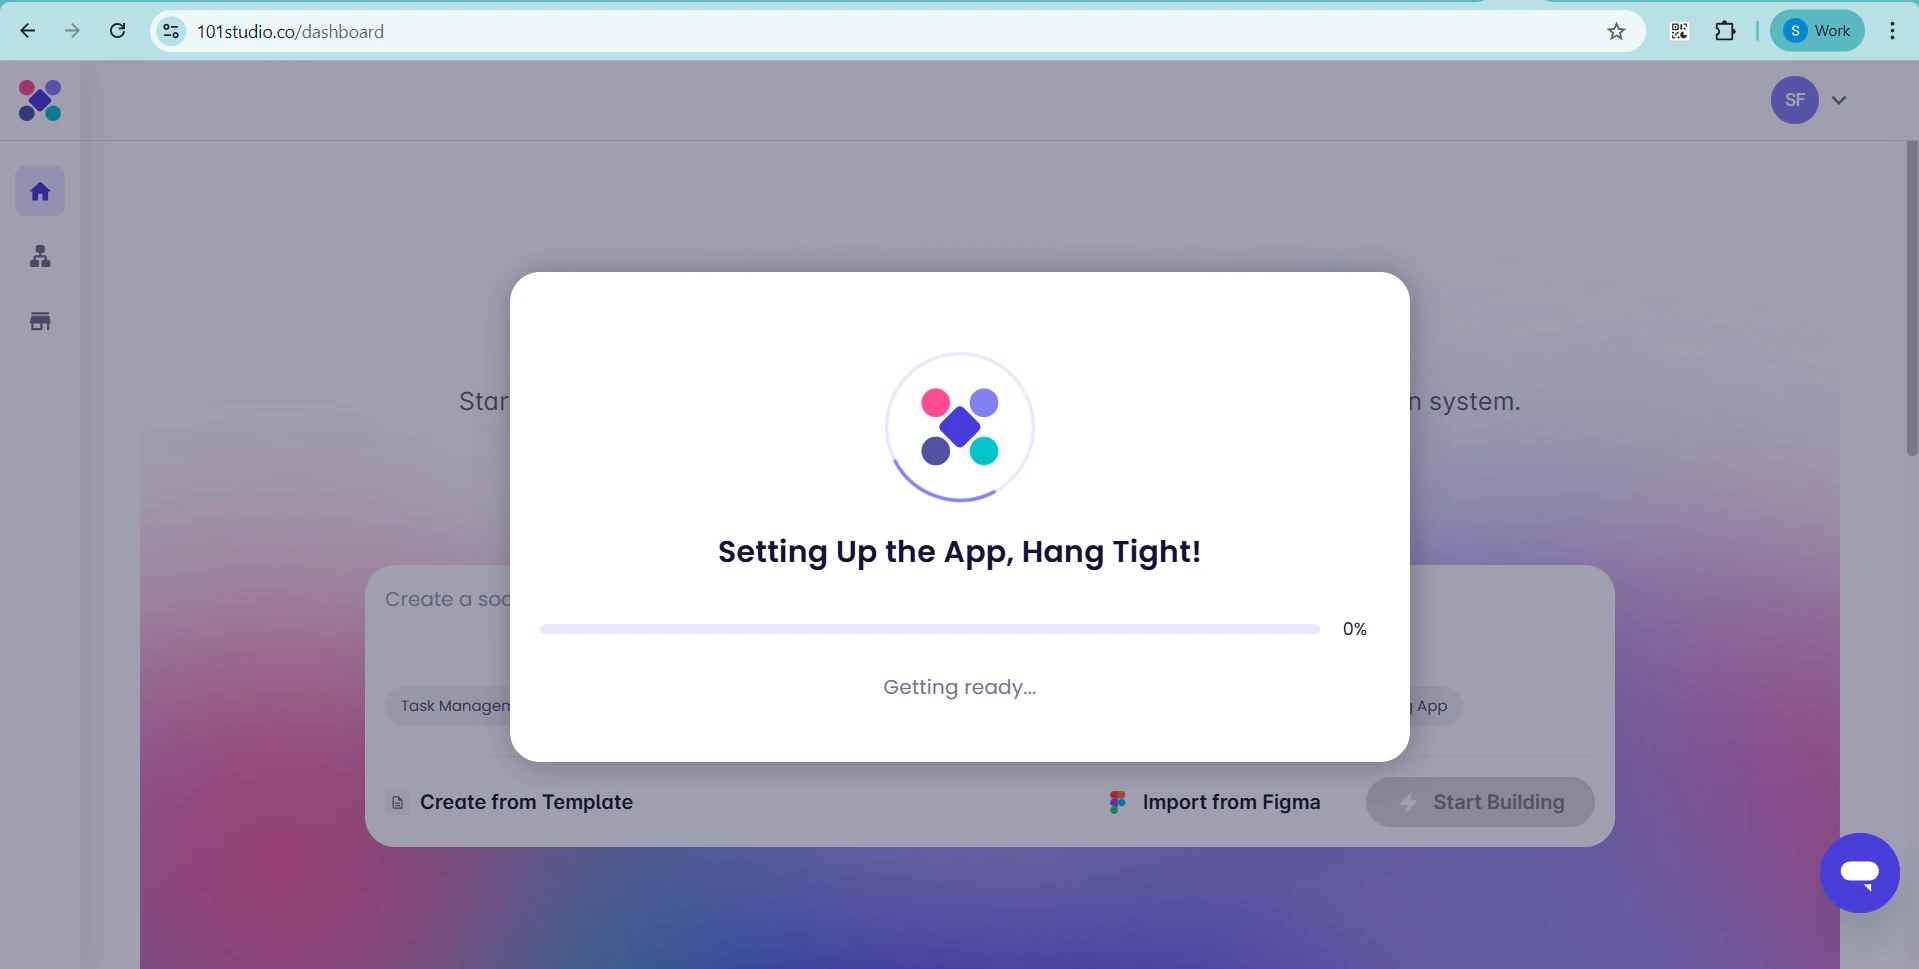
Step 5: Validate the Import
Once the import is complete, Symplr displays the Blueprint View, showing your application’s screens and navigation.What You’ll Get
- Screens generated from the original Figma layouts
- Preserved screen structure and naming conventions
- Consistent rendering of supported components
- Automatically generated navigation flows
- A visual representation of the application structure for review and refinement
Not Seeing the Expected Result?
If the result doesn’t match your expectations, a few quick adjustments can resolve it.What to Check
- Ensure your Figma file is well-structured using frames for accurate screen recognition
- Use clear and consistent screen names to maintain alignment
- Avoid deeply nested groups or unsupported components that may affect rendering
- Verify that your Figma file permissions allow access for seamless import
Refine and Regenerate
- Make updates to your Figma design
- Re-import into Symplr to regenerate the Blueprint View
Figma Import Limitations
Symplr relies on Figma APIs to access design files and assets during the import process. Certain limitations imposed by Figma may affect imports, particularly when using Free or View-only Figma accounts.Example Rate Limit Error
If a Figma rate limit is reached, Symplr may display an error similar to the following: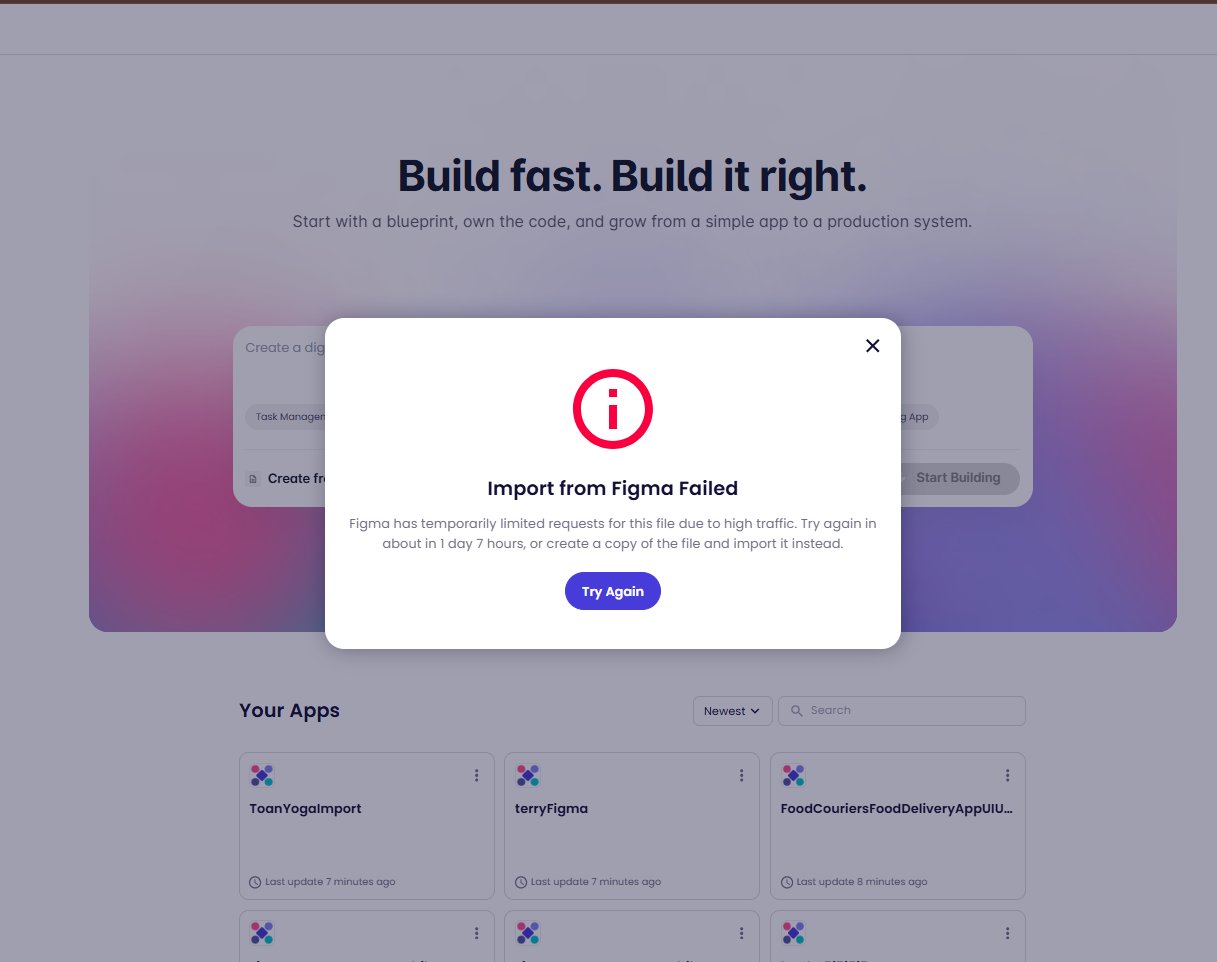
Review Generated Screens
Once the import is complete, Symplr displays the generated screens and navigation structure within Blueprint View. You can view each screen individually to verify that all elements are accurately translated.Screen Review Process
Step 1: Access the Blueprint View
As soon as your import is complete, Symplr presents a fully structured Blueprint View, providing a visual overview of the generated application structure.Step 2: Navigate to the “Pages” Tab
Easily switch to the Pages tab to explore how your design is organized into pages and screens.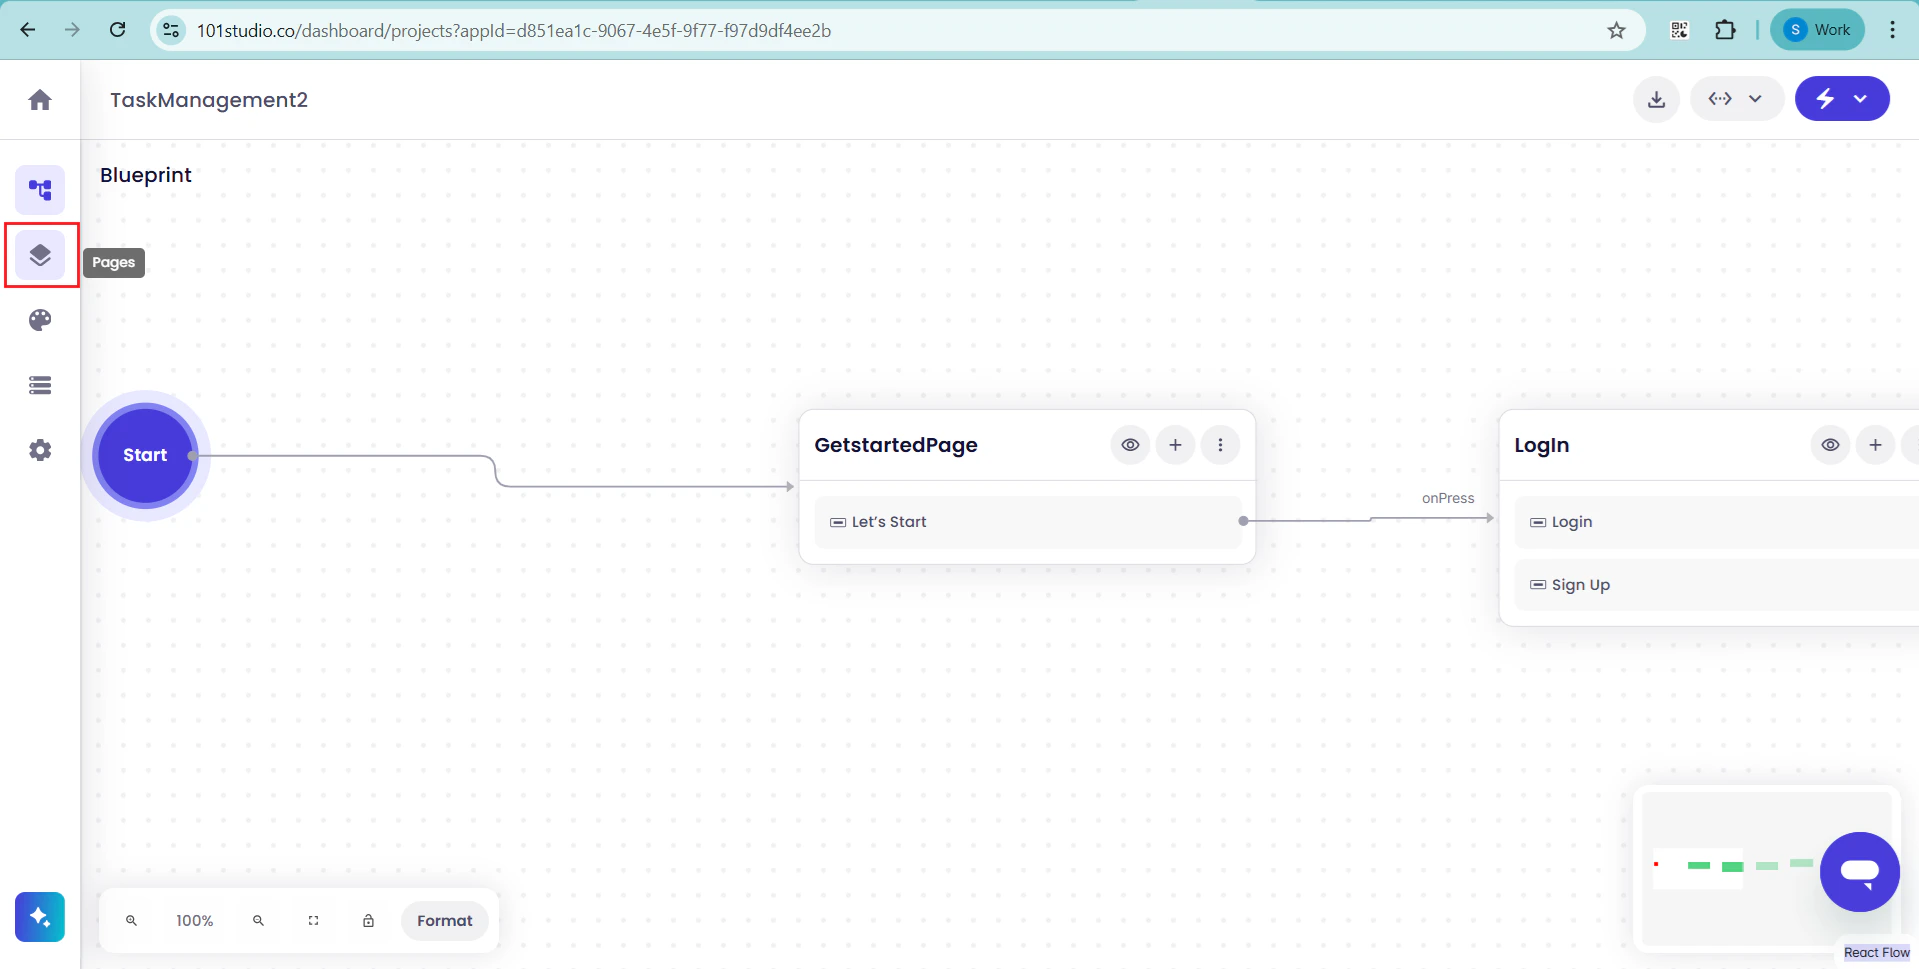
Step 3: Preview Generated Screens
The default screen is displayed for review within the main preview area.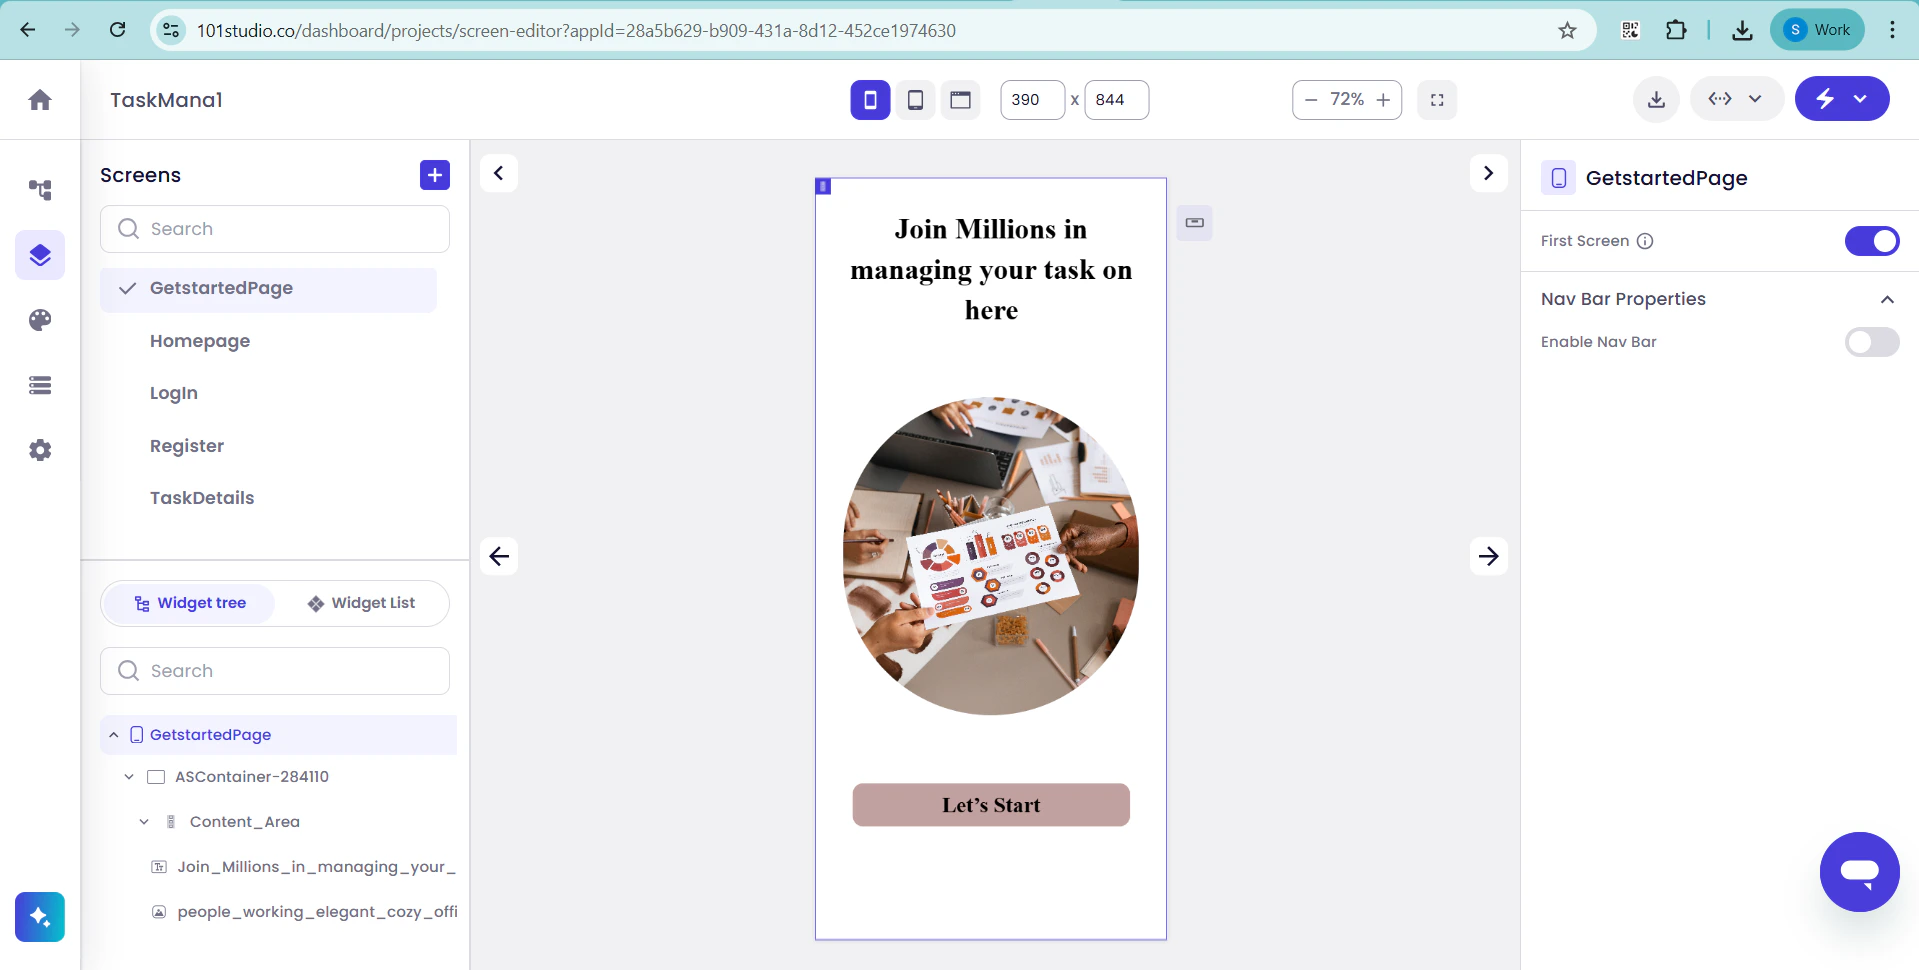
Step 4: Explore All Screens
Browse through the Screens panel to see every screen associated with your selected page clearly listed and organized.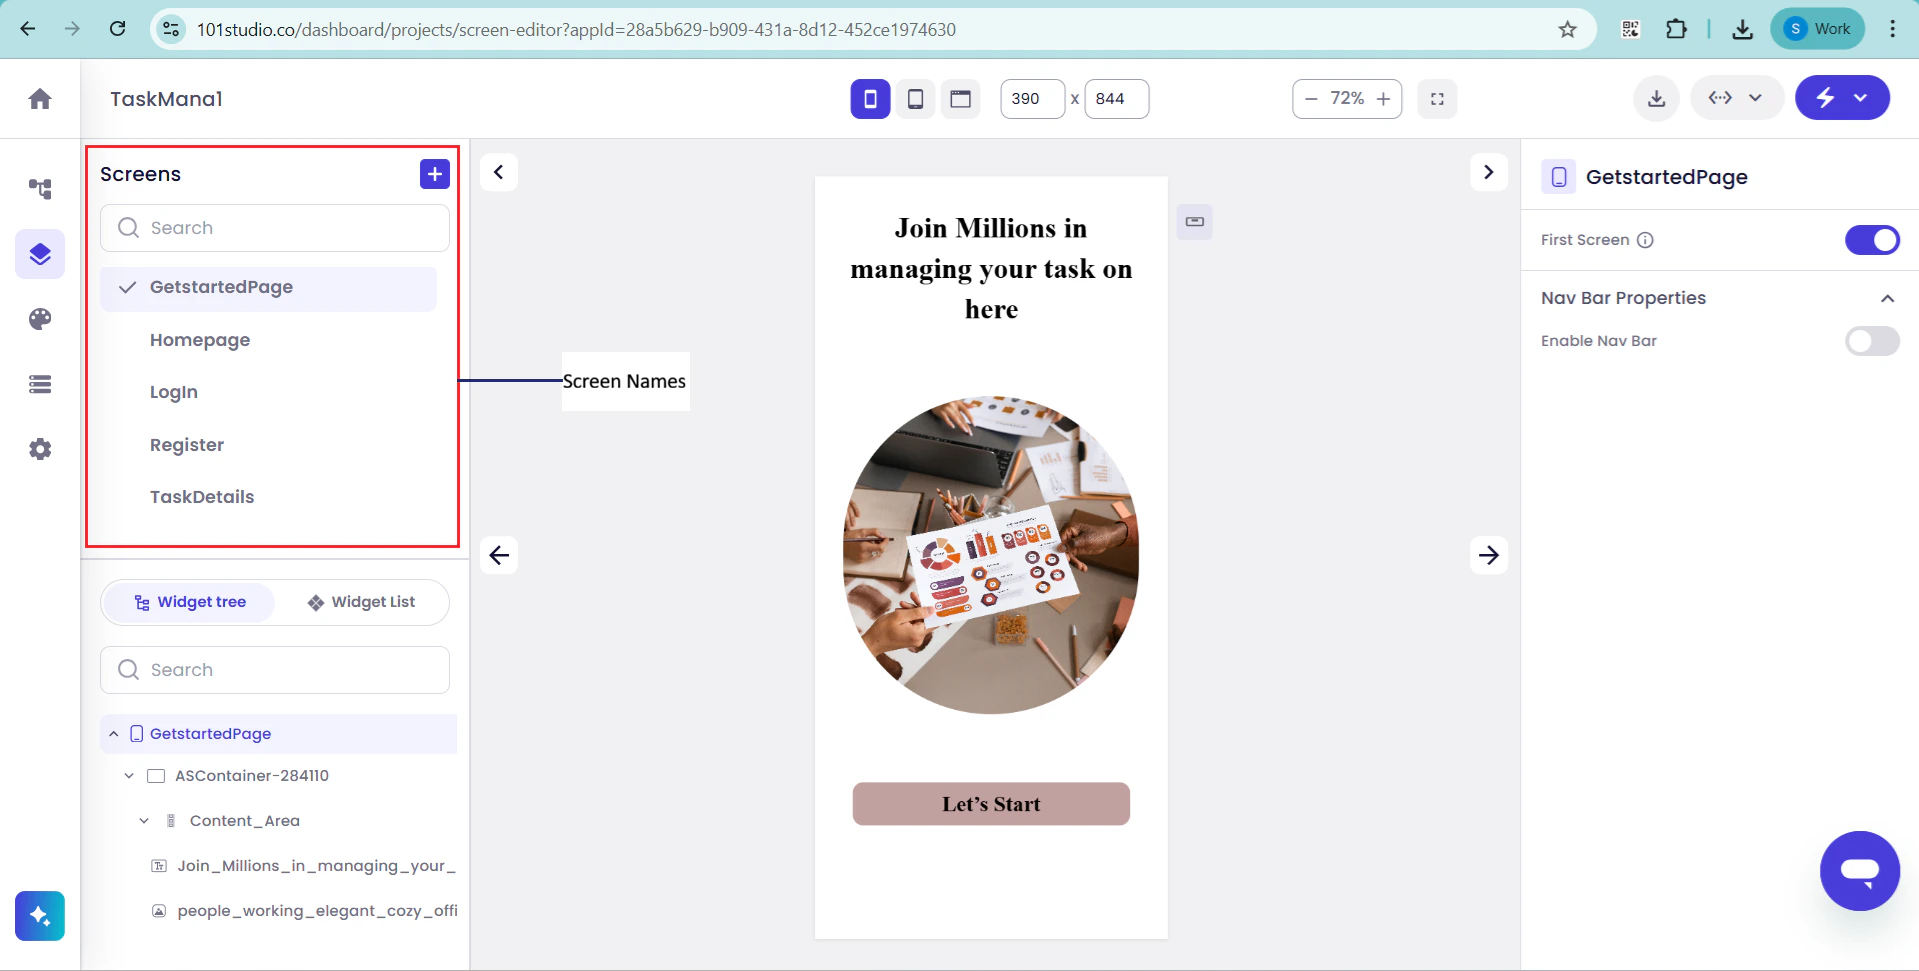
Step 5: Dive Into Any Screen
Select any screen to load it in the main view for detailed inspection of layouts, components, and structure. From overview to deep inspection, Symplr provides detailed visibility for reviewing and validating layouts, components, and navigation.Build & Run Your Application
Once the application is generated, use Build & Run workflows to compile and preview the application directly within Symplr without local environment setup. Test functionality, validate user flows, and experience your application in action all within the platform.Run in Symplr
Compile and run the generated application directly within Symplr without requiring additional local environment configuration.Build Process
Step 1: Access Build & Run
From the top-right corner of the interface, click “Build & Run App” icon to open the execution panel.Step 2: Start the Build
Click “Build” to begin compiling your application. Symplr processes the generated application package and prepares it for execution.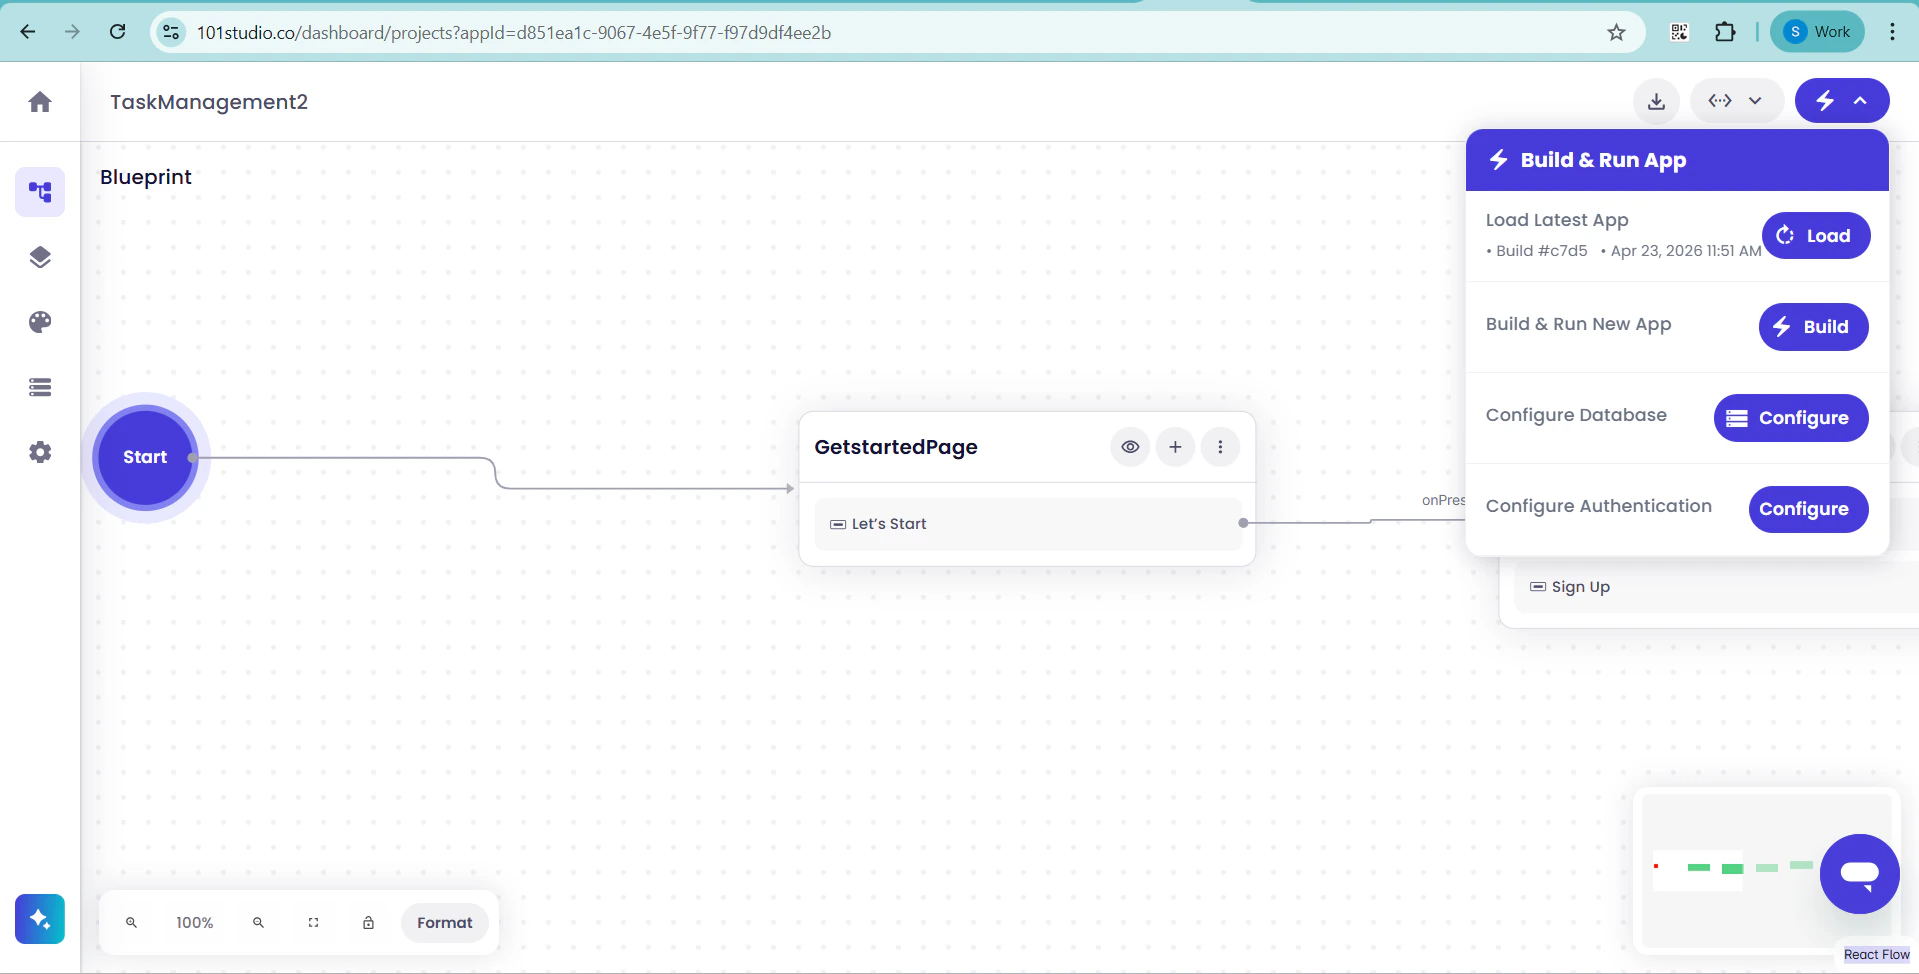
Step 3: Track Progress in Real Time
Monitor the build process through live progress indicators, providing visibility into build progress and execution status.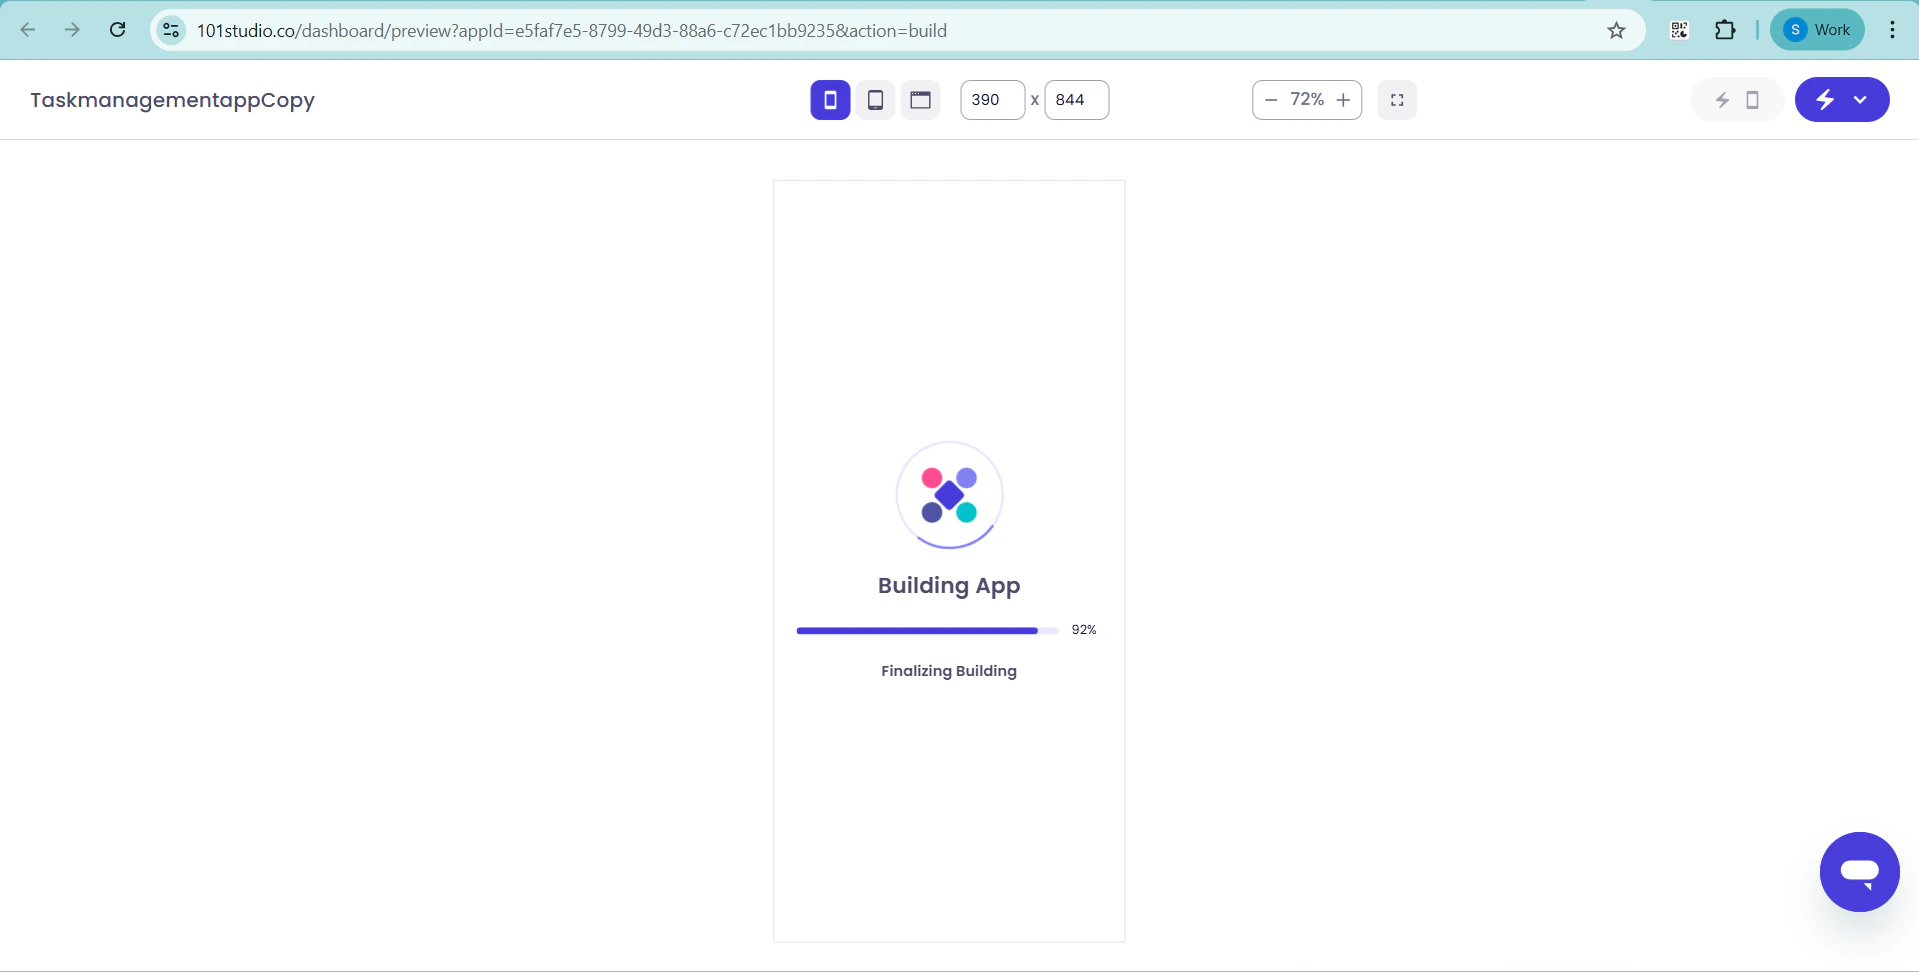
Step 4: Run Your Application
Once the build is complete, the application launches within the Symplr environment ready for testing and validation.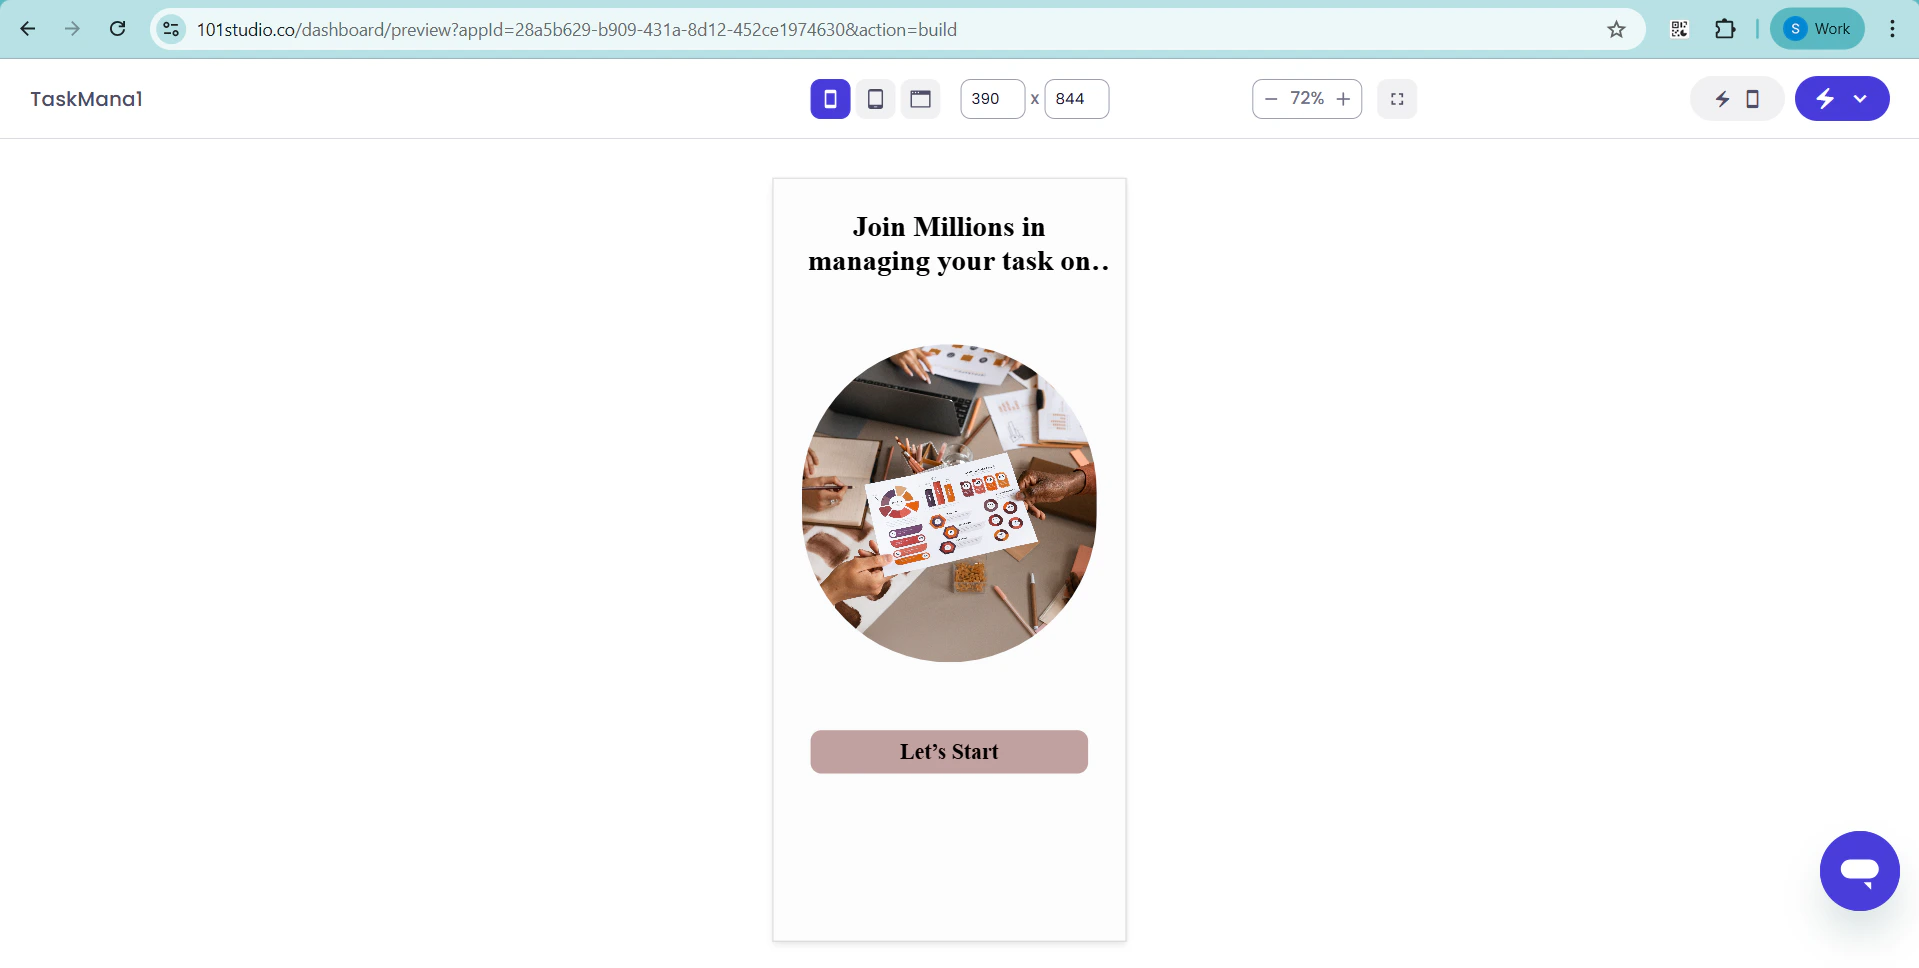
Run on a Real Device
Run the application on a physical device for testing and validation. Symplr supports running applications on physical mobile devices to help validate interactions, layouts, and user flows before deployment.Device Testing Process
Step 1: Generate Your QR Code
Click “Run App on Your Device” from the top-right corner. Symplr generates a QR code for device access.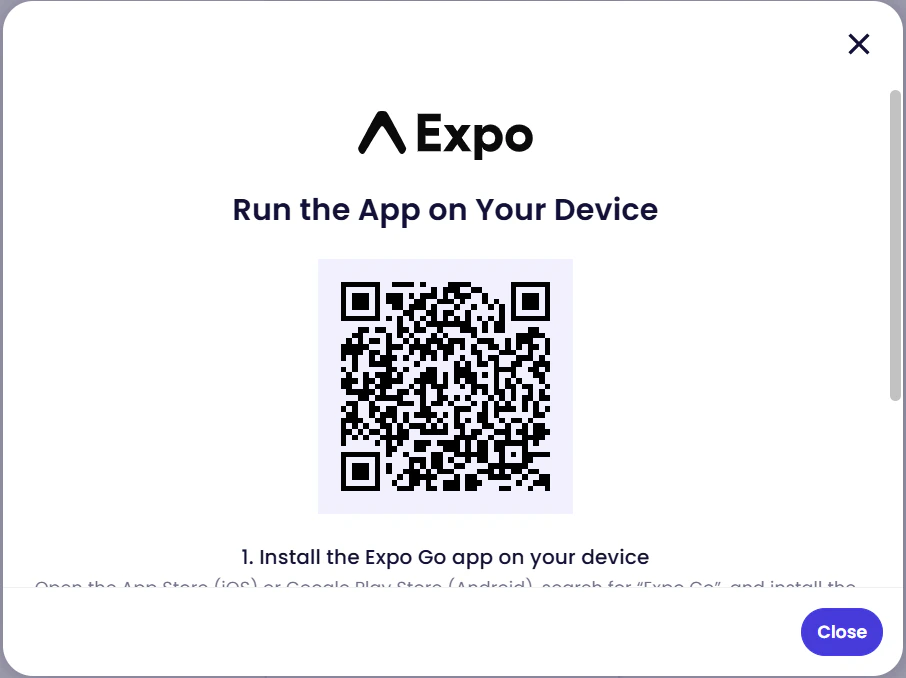
Step 2: Install Expo Go
Follow the on-screen instructions to install Expo Go (a mobile app used to run your application).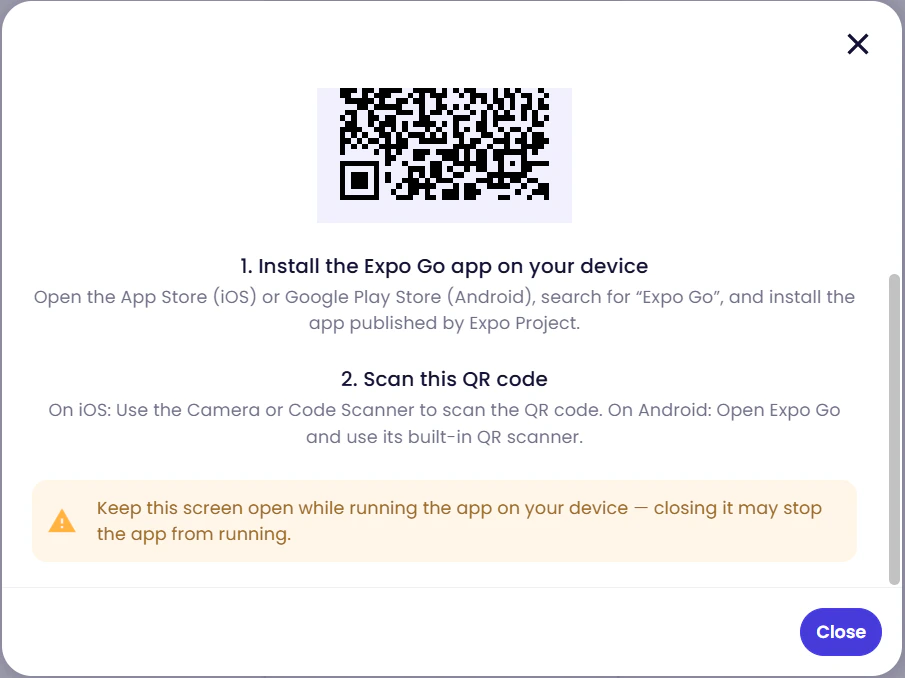
Step 3: Scan and Connect
Open Expo Go and scan the QR code. Your application connects through Expo Go without additional setup.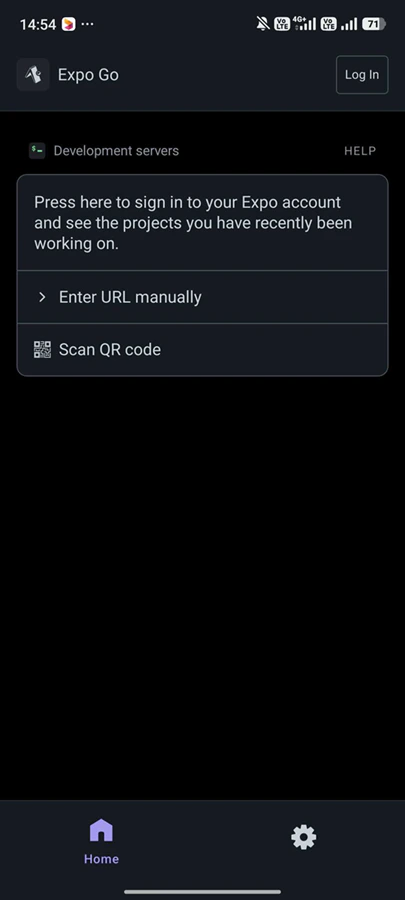
Scan the QR code using your mobile device:
- On iOS, use the Camera or Code Scanner. After scanning, you will be prompted to open the application in the Expo Go application
- On Android, open the Expo Go application and use its built-in QR scanner
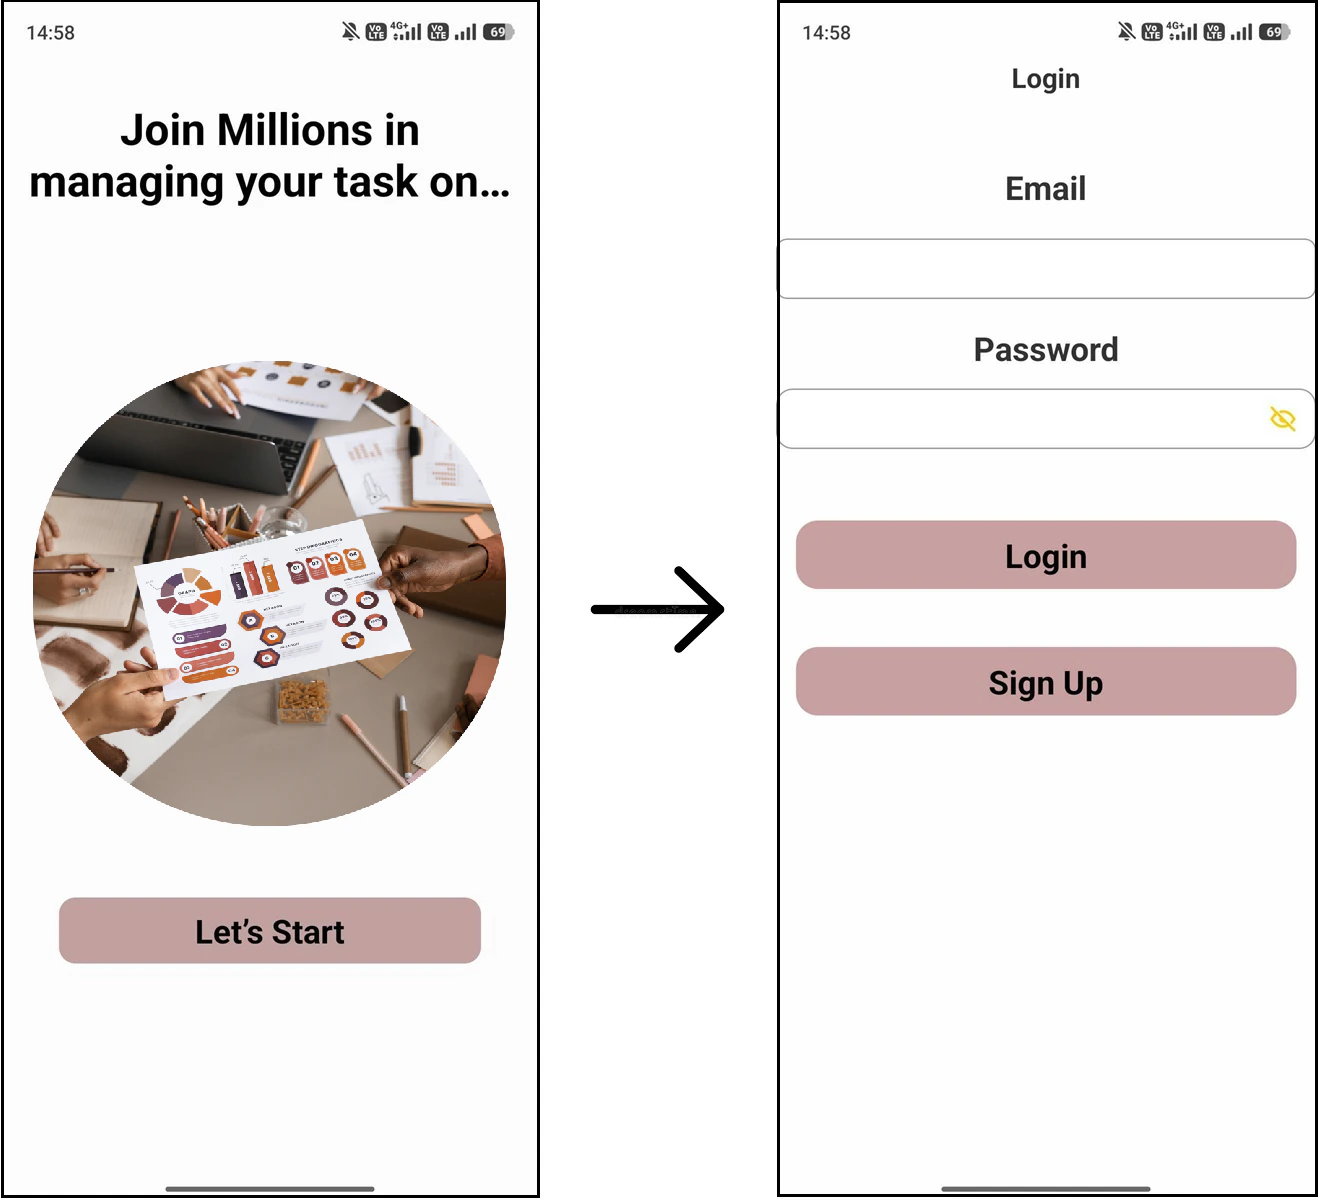
Step 4: Launch Your Application
Once connected, the application loads directly on your device for testing and validation.Step 5: Validate the Application
Once the application is running, review the following areas:- Review every screen to ensure layouts and UI elements render correctly
- Interact with buttons and controls to confirm responsiveness
- Navigate between screens to validate flow and user journeys
- Ensure the overall experience is responsive and aligned with the original design
Need Help?
If the generated result does not match expectations, a few quick checks can get you back on track:- Ensure your Figma file is accessible (e.g., “Anyone with the link can view”)
- Verify your design structure if screens are missing
- Check for unsupported components or large file sizes
Next Steps
Continue building your application:- Explore Blueprint View
- Configure Workflows & APIs
- Build and test your application